Provision a VPN Gateway
This page covers creating a new VPN Gateway from the Portal. Once the gateway is active, continue with Configure the VPN Gateway to define the IPsec connection.
- You are signed in to the Portal.
- The account does not already own a VPN Gateway (only one per account).
- The balance covers the prepaid cycle you select.
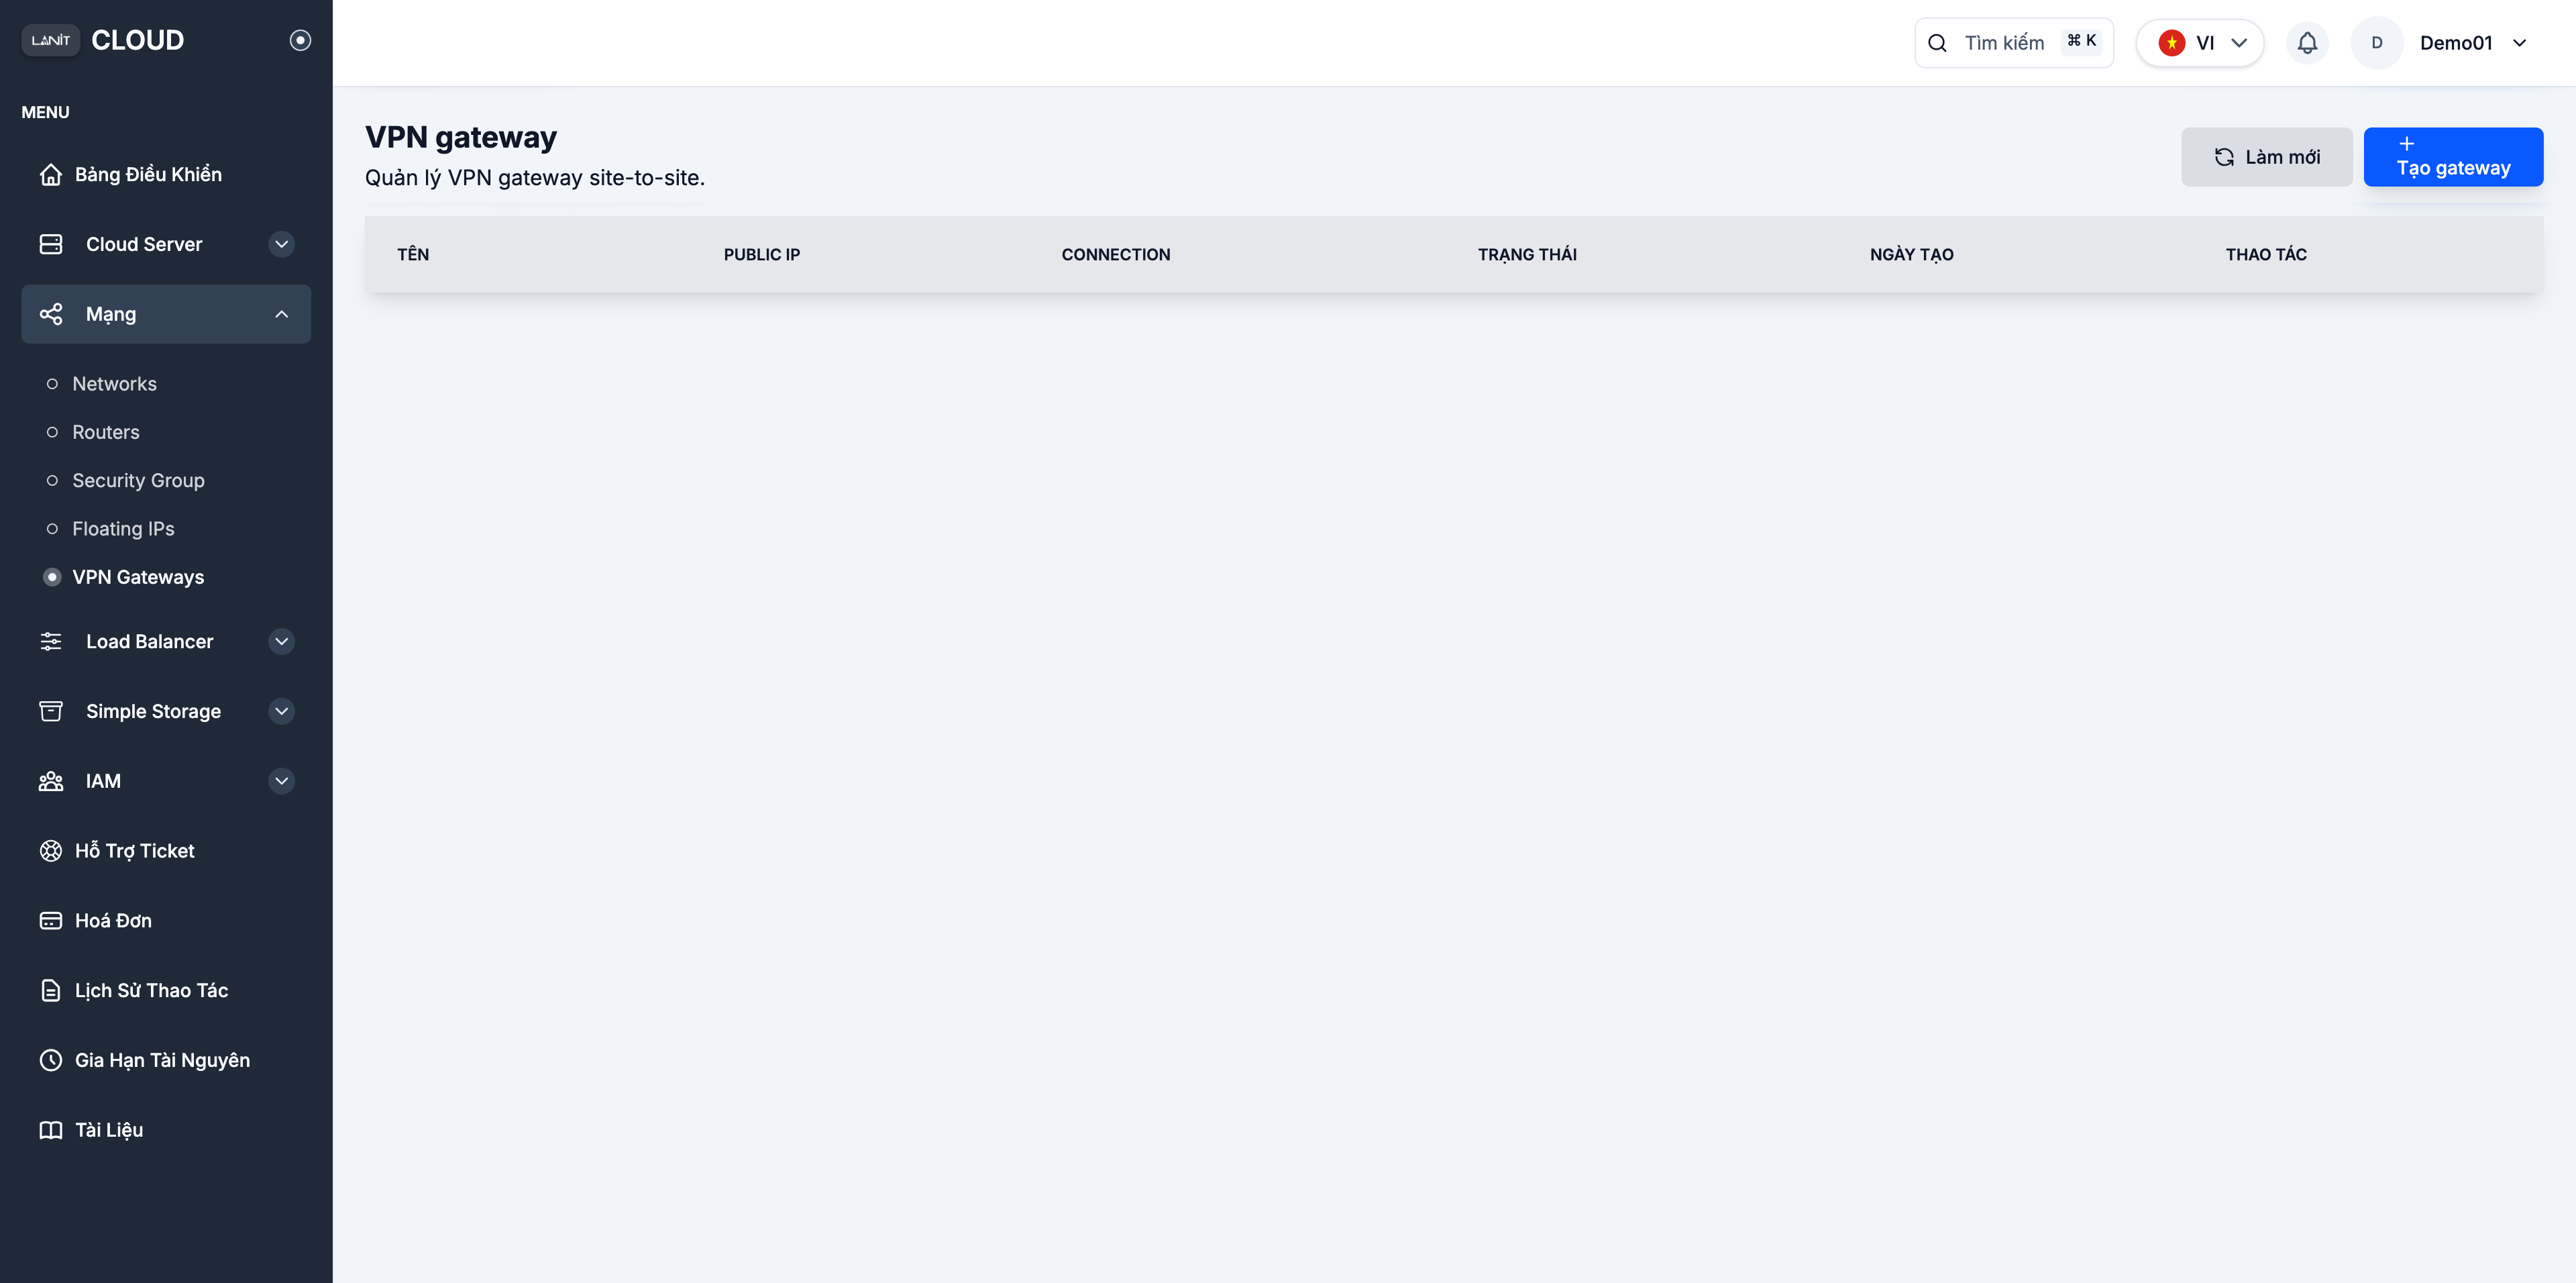
Step 1. Open the VPN Gateway page
Go to Network → VPN Gateways and click + Create gateway.
Step 2. Configure the gateway
| Field | Meaning | Example |
|---|---|---|
| Gateway name | Identifier — letters, digits, - and _ only | vpn-office-hn |
| Public network | Public pool that supplies the gateway's Public IP | Public-VLAN912 |
| Billing cycle | Prepaid 1 / 3 / 6 / 12 months | Prepaid 1 month |
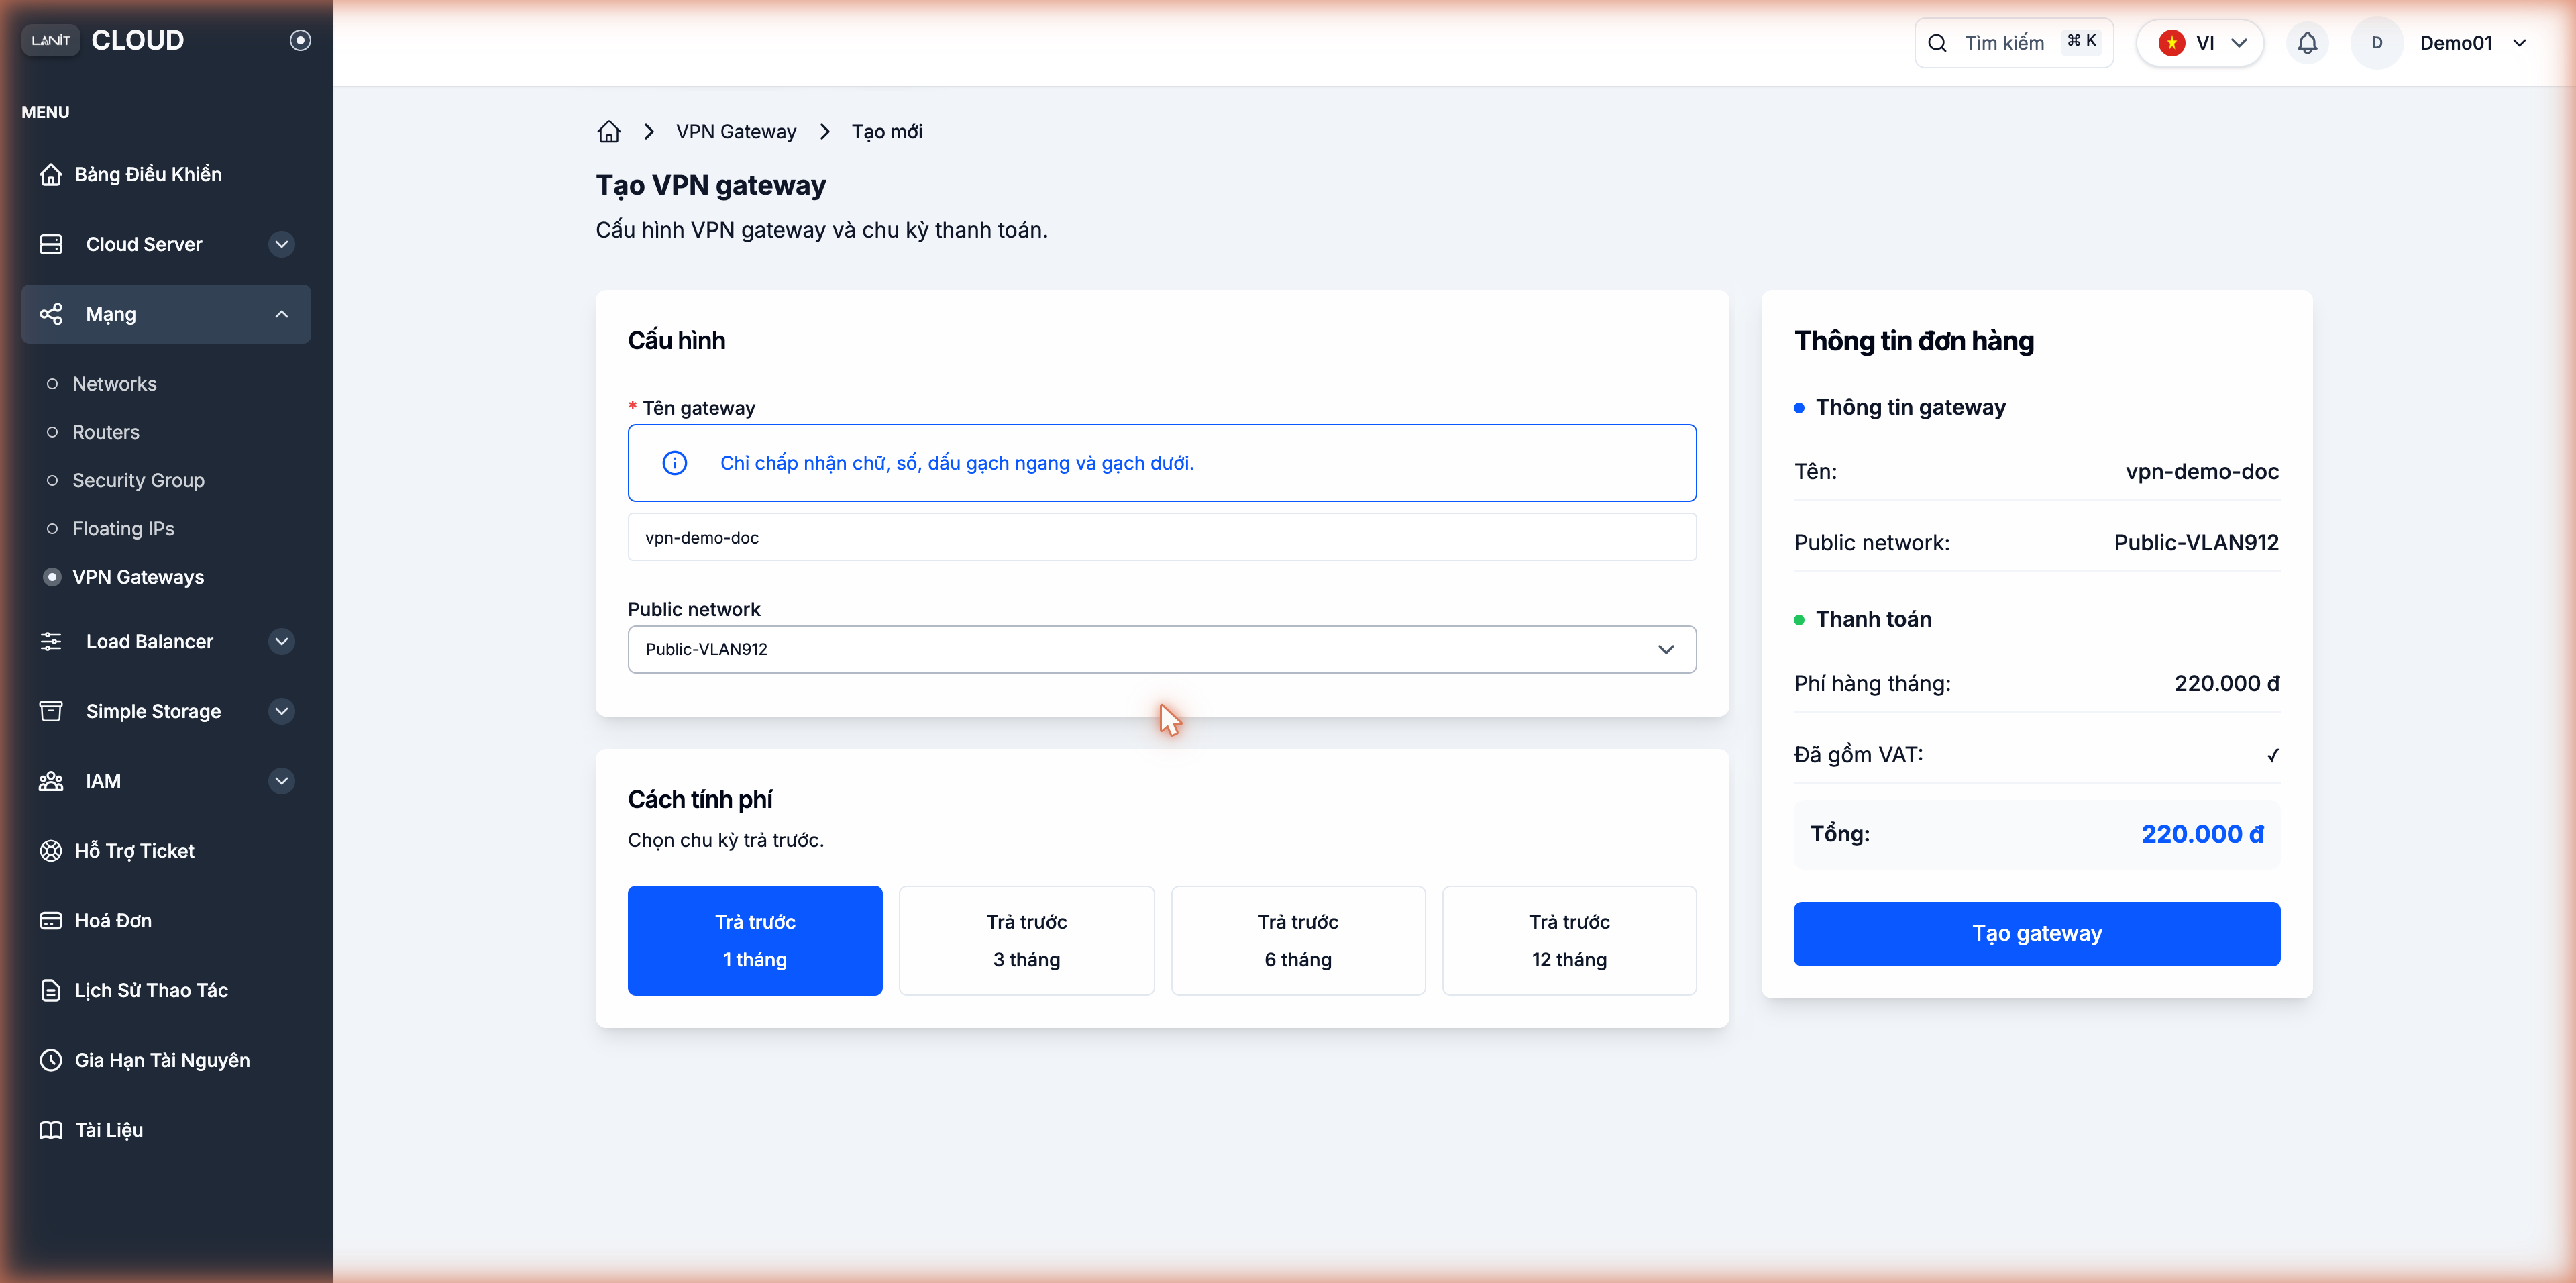
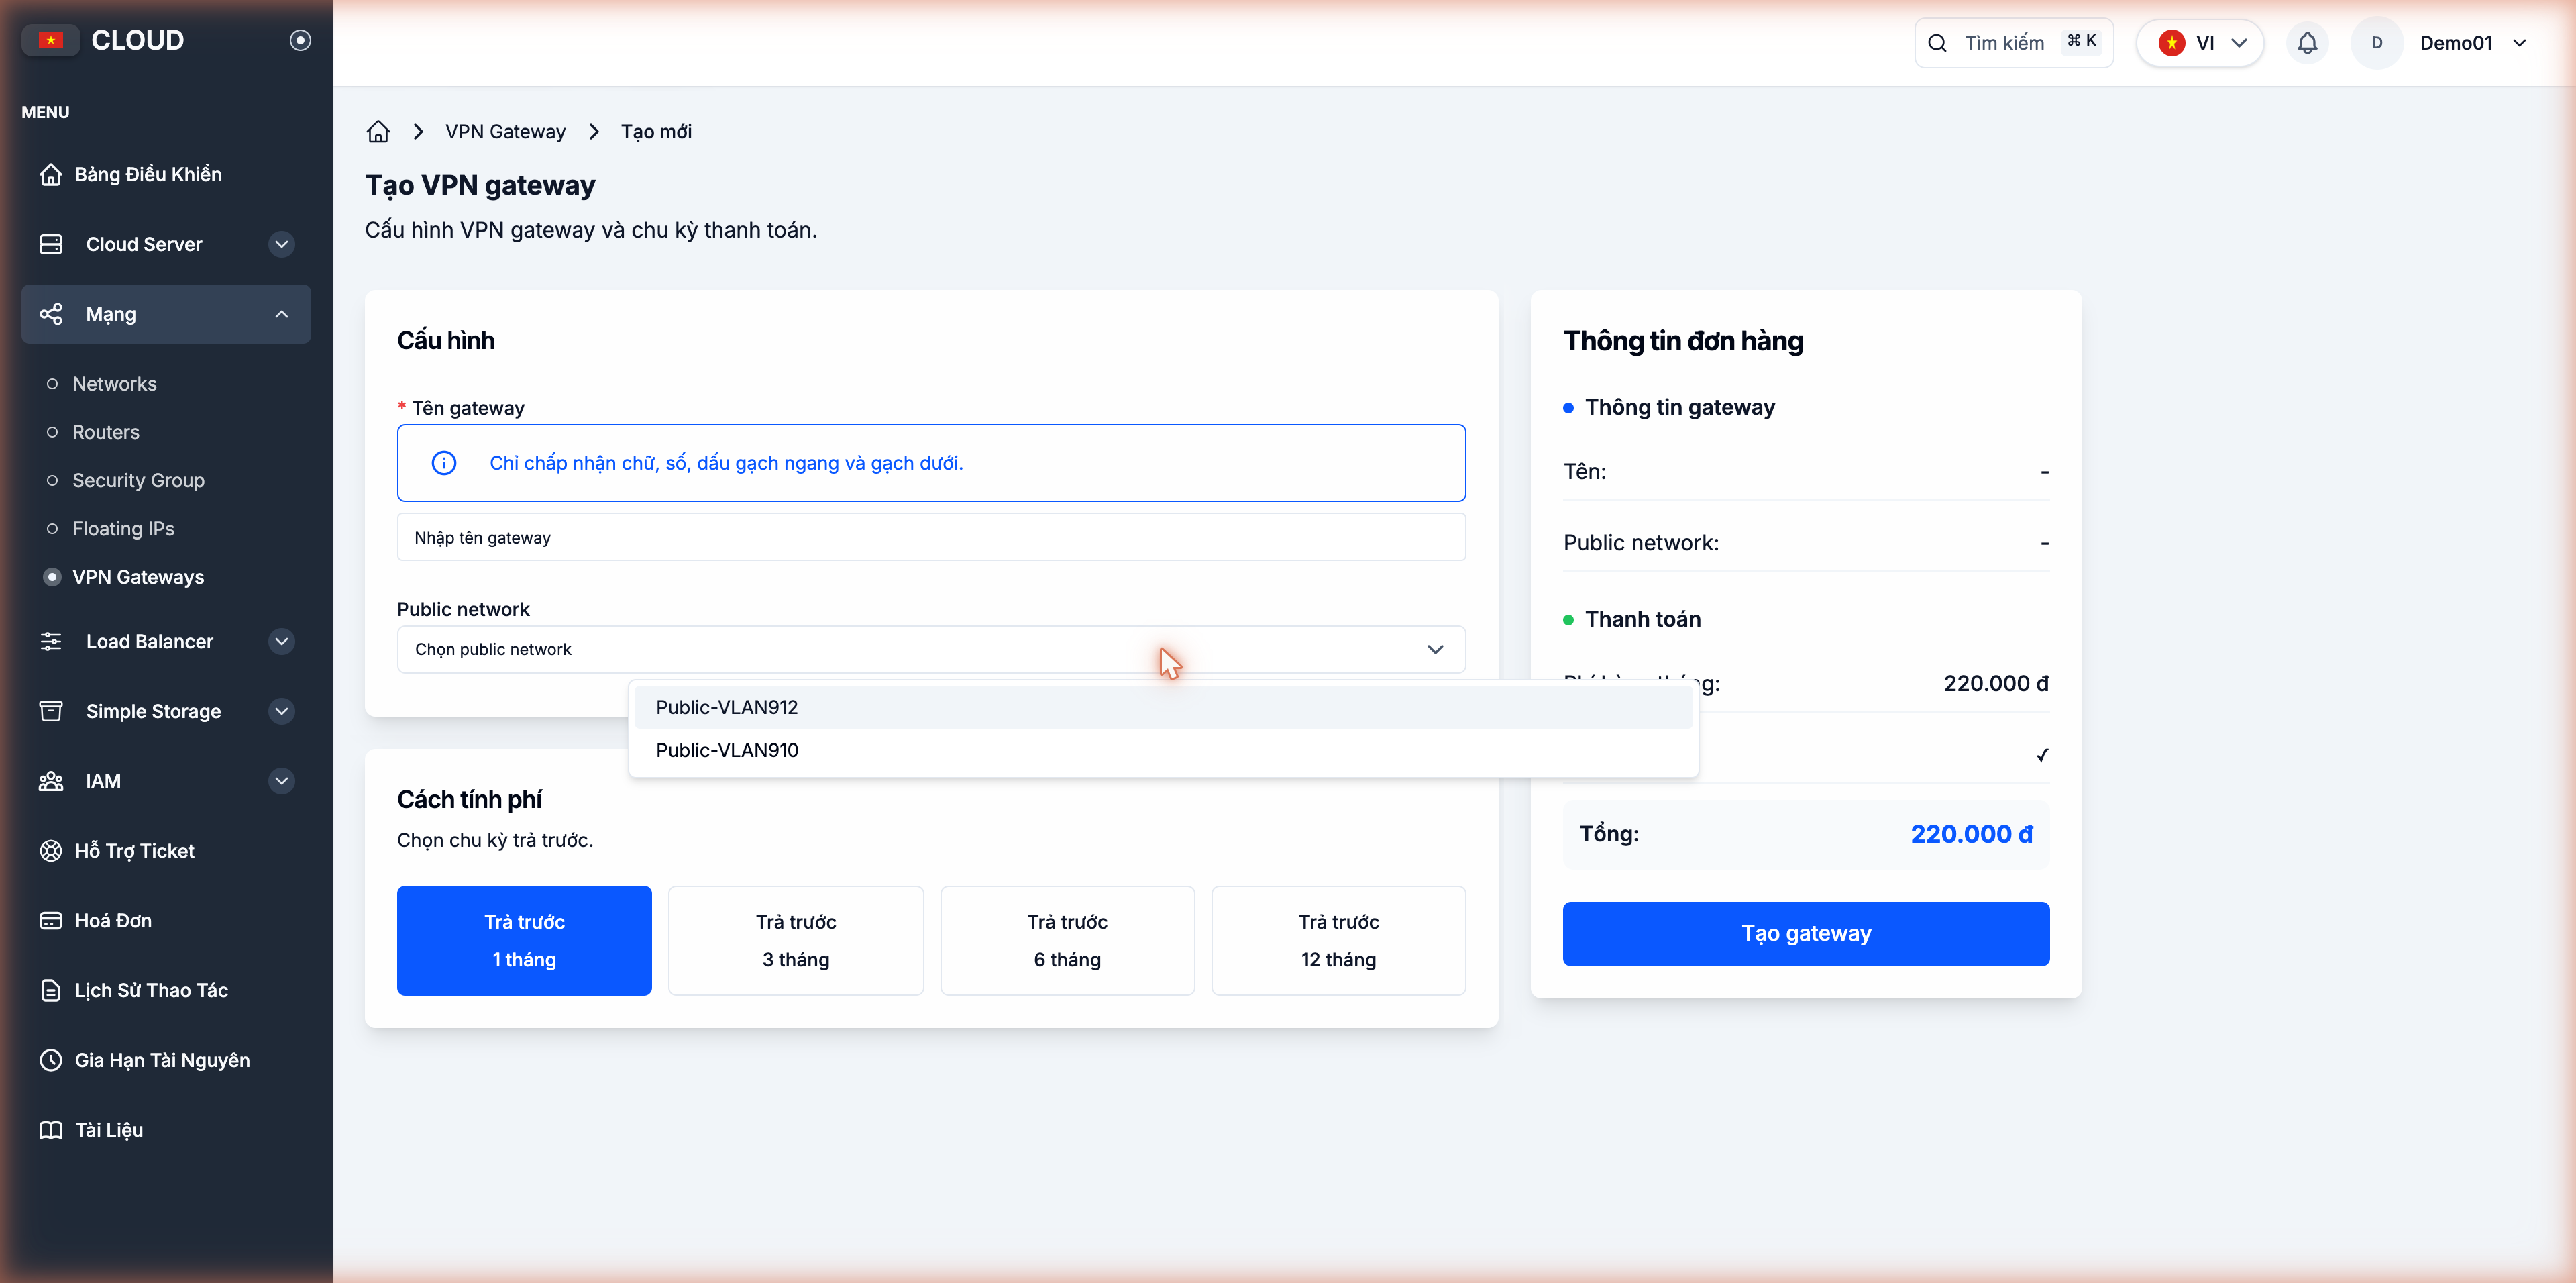
The Public network dropdown lists available LANIT pools (e.g. Public-VLAN912, Public-VLAN910). The Public IP is allocated automatically from the chosen pool.
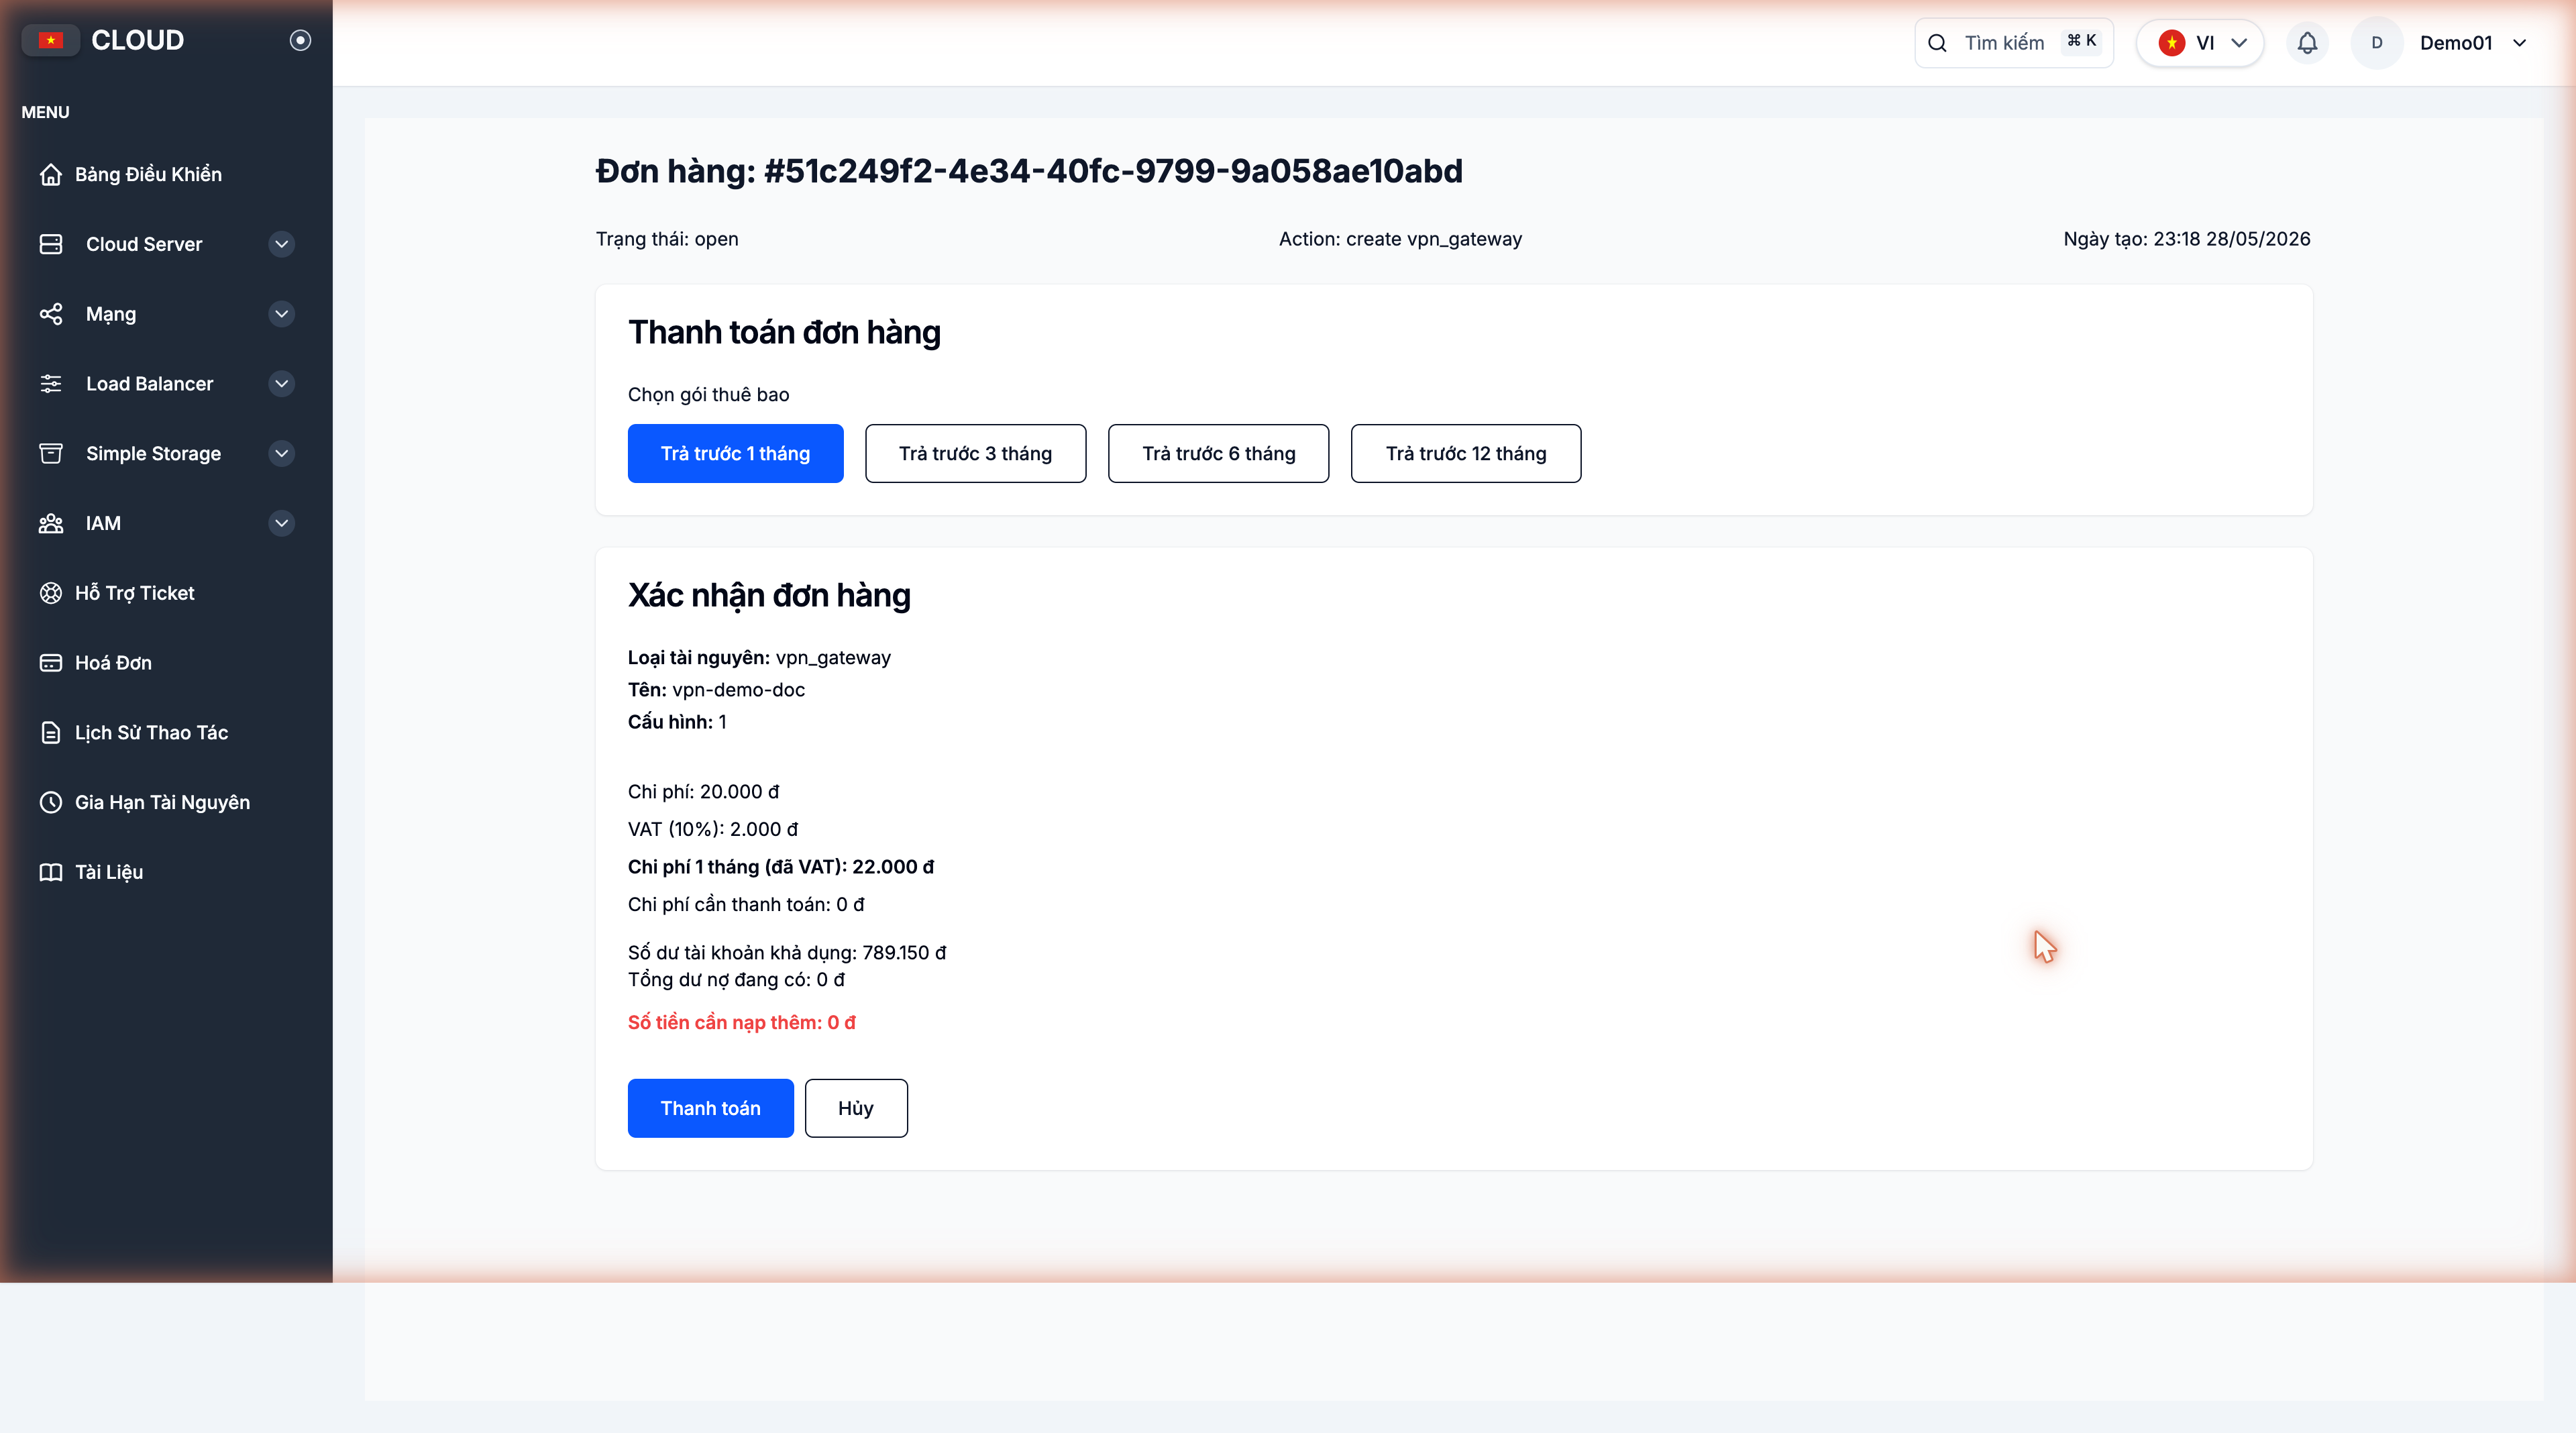
Step 3. Confirm and pay for the order
After clicking Create gateway, the portal opens the order page. Verify the cost (VAT included), check the available balance, then click Pay and confirm the deduction from your balance.
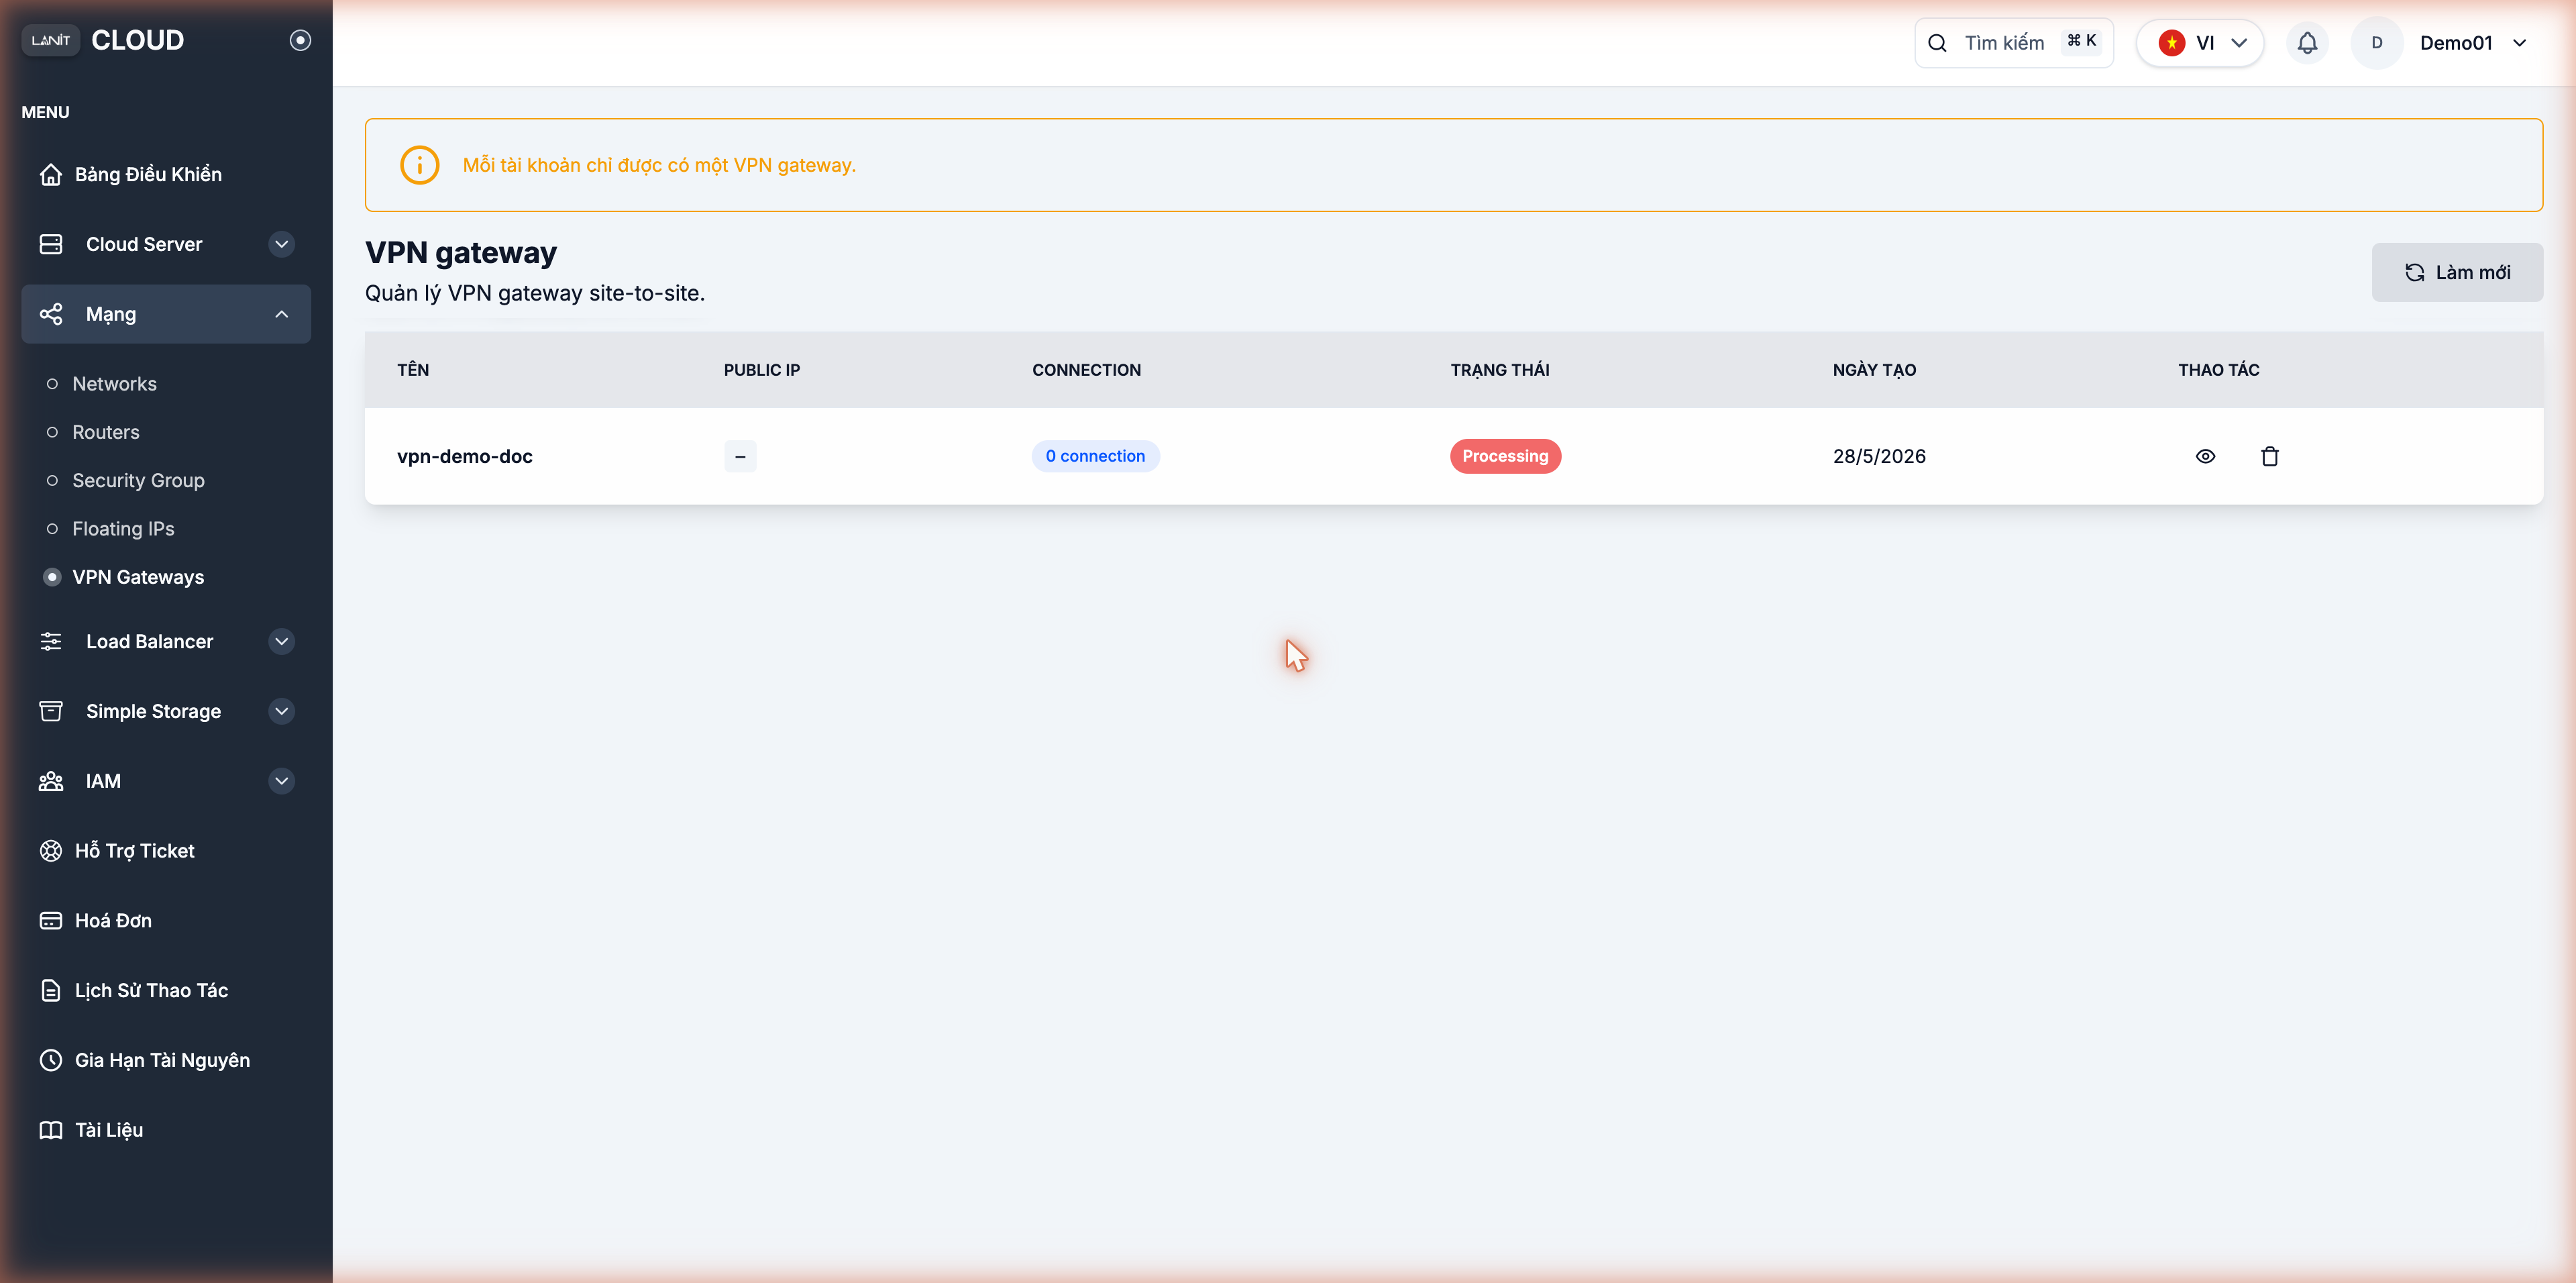
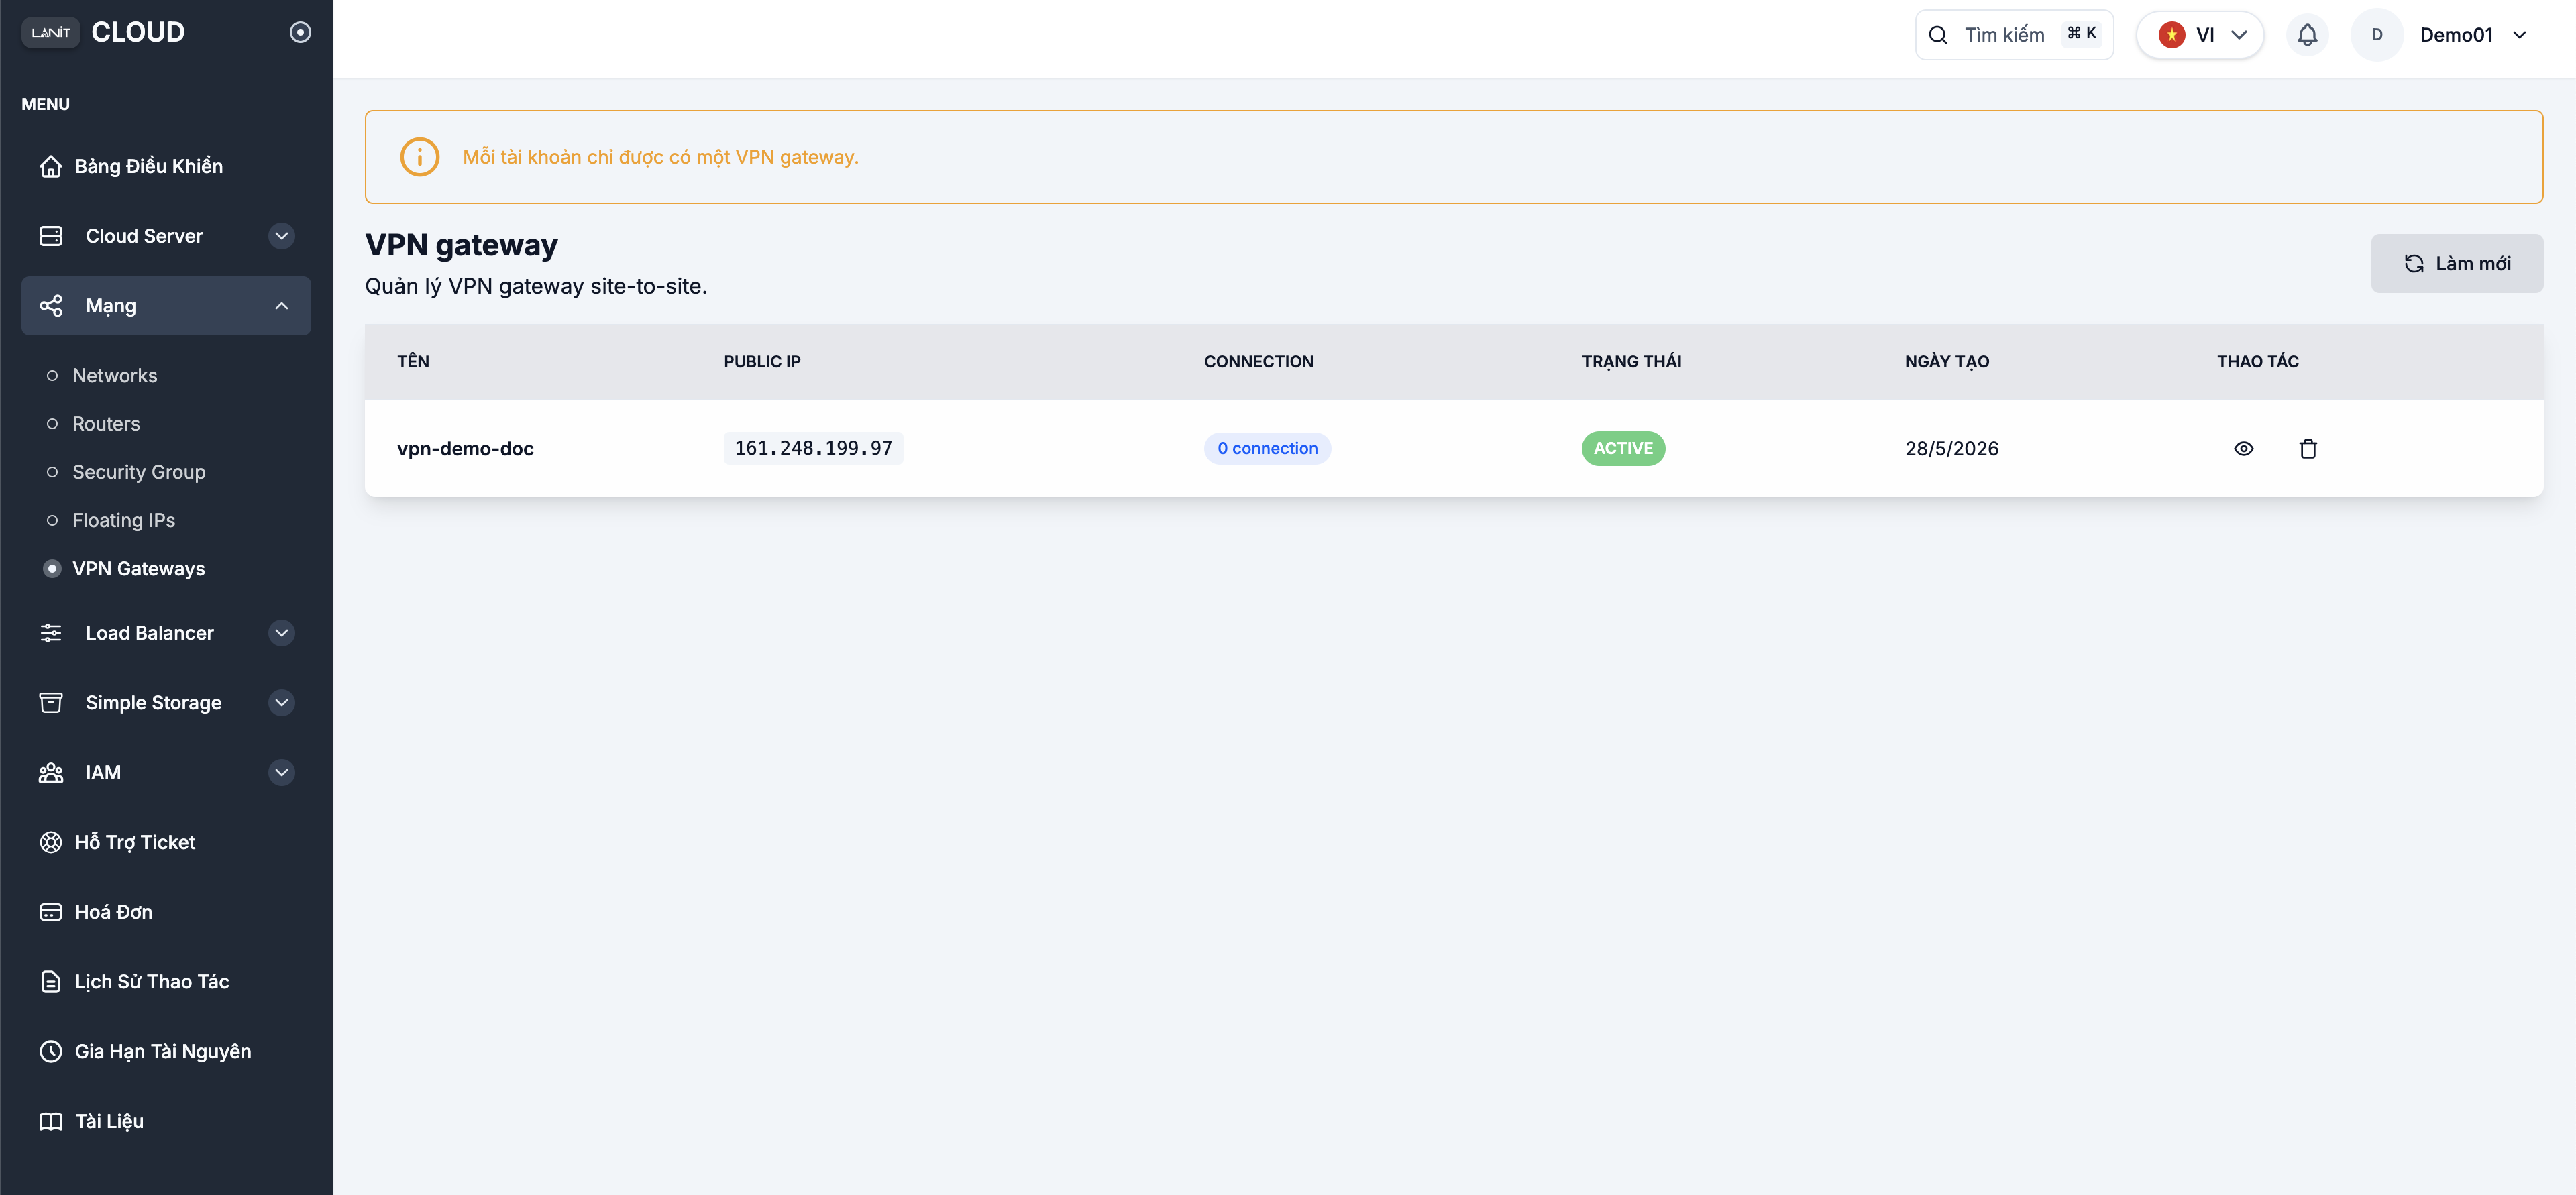
Step 4. Wait for Active
Go back to Network → VPN Gateways. The gateway appears with status Processing; in 1–2 minutes the Public IP is allocated and the status transitions to Active.
Step 5. Open the Connection page
Click the gateway name in the list to open the Connection page. The Gateway info block shows the allocated Public IP. The Connection list is initially empty.
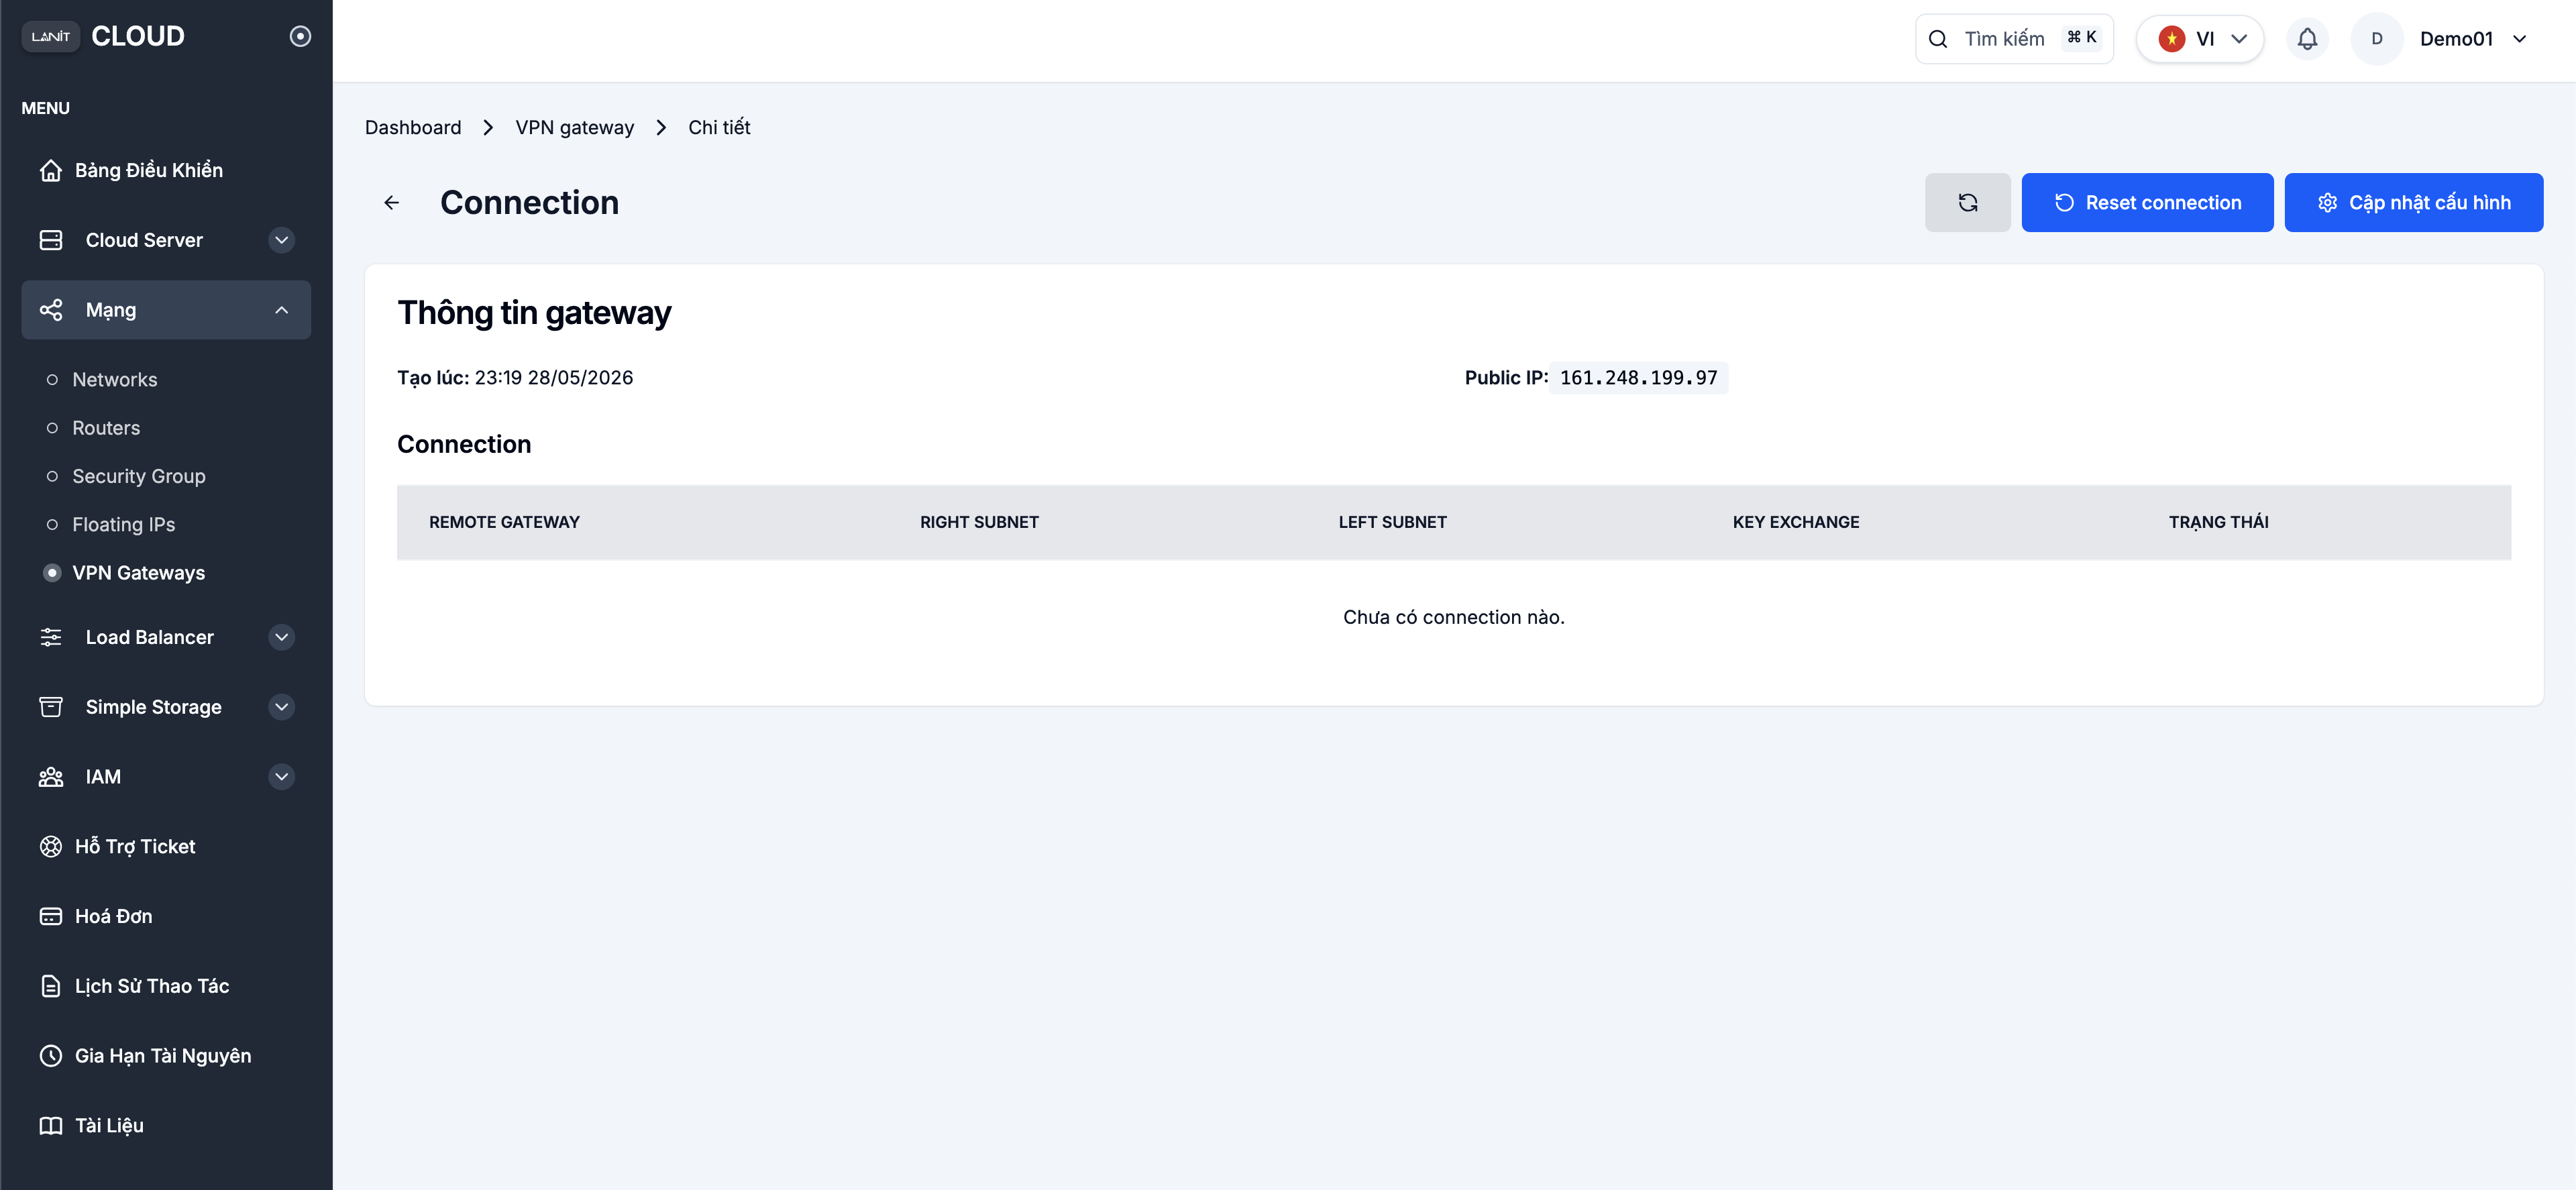
Two main actions at the top-right:
- Reset connection — tear down and rebuild all current IPsec tunnels (use after config changes or to recover from issues).
- Update configuration — open the Connection configuration dialog to add/edit connections.
Next steps
- Configure the VPN Gateway — define the IPsec connection, set up the remote peer and verify the tunnel.