Object Management
After uploading, you can perform full object management operations directly on the LANIT Cloud Portal: view details, download, share, copy, move, and delete.
View the Object List in a Bucket
Step 1: Go to Simple Storage → Buckets, then click the name of the bucket you want to manage.
Step 2: The bucket detail page displays a list of all objects, including:
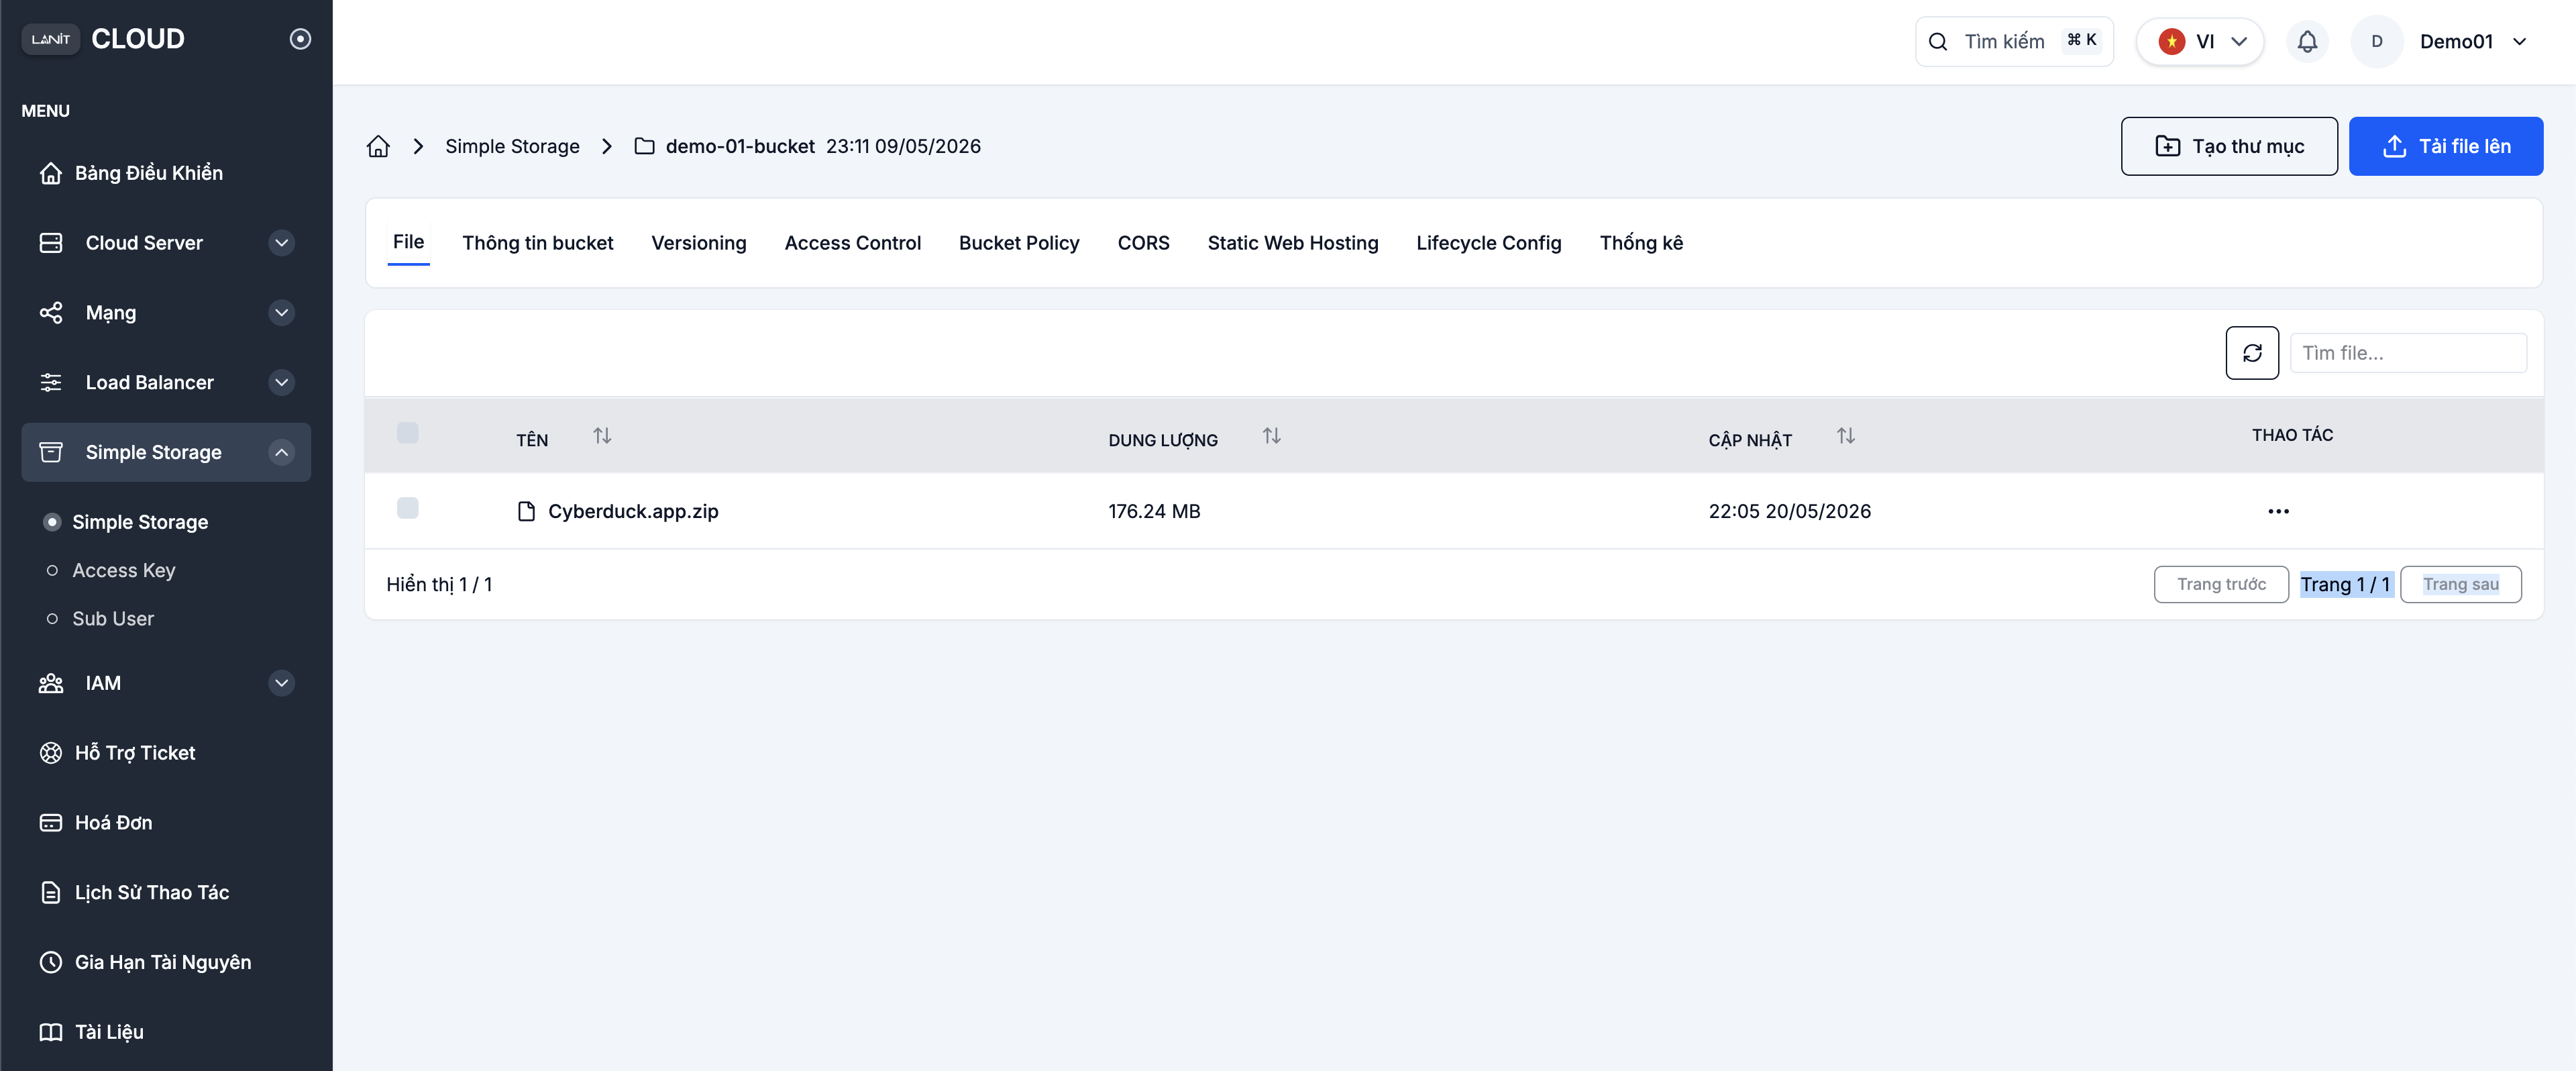
- Object Name (Key): The full path of the object within the bucket
- Size: File size
- File Type (Content-Type): MIME format (e.g.,
image/jpeg,application/pdf) - Last Modified: Time of the most recent upload or update
- Storage Class: Storage class (usually
STANDARD)
Step 3: Use the search box above the list to filter objects by name. Click virtual folders (prefixes) to navigate into subfolders.
Download an Object
Option 1 — Download from the list: Click the ⋮ (three dots) icon next to an object, then select Download. The file downloads to your computer immediately.
Option 2 — Download from the object detail page: Click the object name to open its detail page, then click Download.
View Object Details
Click an object name to view its full information:
- Object URL: Direct access path
- Content-Type: Content type
- Size: File size
- ETag: MD5 hash of the file, used to verify data integrity
- Last Modified: Last modified time
- Storage Class: Storage class
- Metadata: Custom metadata tags (if any)
- Versions: List of versions (if Versioning is enabled for the bucket)
Create a Presigned URL (Temporary Share Link)
A Presigned URL lets you share a private object with others for a defined period, without changing the bucket policy.
Step 1: Click ⋮ next to the object you want to share and select Generate Presigned URL.
Step 2: Set the expiry time:
- Choose from a few minutes to 7 days (maximum 604,800 seconds)
- After expiry, the URL becomes invalid and returns a
403error
Step 3: Click Generate to create the URL. Copy the URL and share it with the recipient.
Presigned URLs contain temporary authentication information. Do not share this URL publicly if the file contains sensitive data.
Delete an Object
Delete a single object:
Step 1: Click ⋮ next to the object and select Delete.
Step 2: A confirmation dialog appears — confirm the name and click Confirm to proceed.
Deleting an object is irreversible (unless Versioning is enabled on the bucket). Back up important data before deleting.
Delete multiple objects:
Step 1: Tick the checkboxes next to the objects you want to delete.
Step 2: Click Delete Selected in the action bar above.
Step 3: Confirm the bulk delete.
Copy and Move Objects
Copy an object to another location within the same bucket:
Step 1: Click ⋮ and select Copy.
Step 2: Enter the destination path (destination key), e.g., backup/images/photo.jpg.
Step 3: Click Copy to confirm. The original object remains unchanged.
Move an object:
Step 1: Click ⋮ and select Move.
Step 2: Enter the new destination path.
Step 3: Confirm to move. The original object is deleted after a successful copy.
Edit Metadata and Tags
Step 1: Click the object name to open the detail page.
Step 2: Scroll to the Metadata or Tags section and click Edit.
Step 3: Add, edit, or remove key-value pairs.
Step 4: Save your changes.
Metadata is useful for storing additional information such as Cache-Control, Content-Disposition, or custom classification tags for your application.