S3 Browser
S3 Browser is a free Windows application with an intuitive graphical interface that lets you manage buckets and objects on Simple Storage without using the command line. It is a popular choice for Windows users who want drag-and-drop operations, file previews, and easy permission management.
- Operating system: Windows 7/8/10/11 (32-bit or 64-bit)
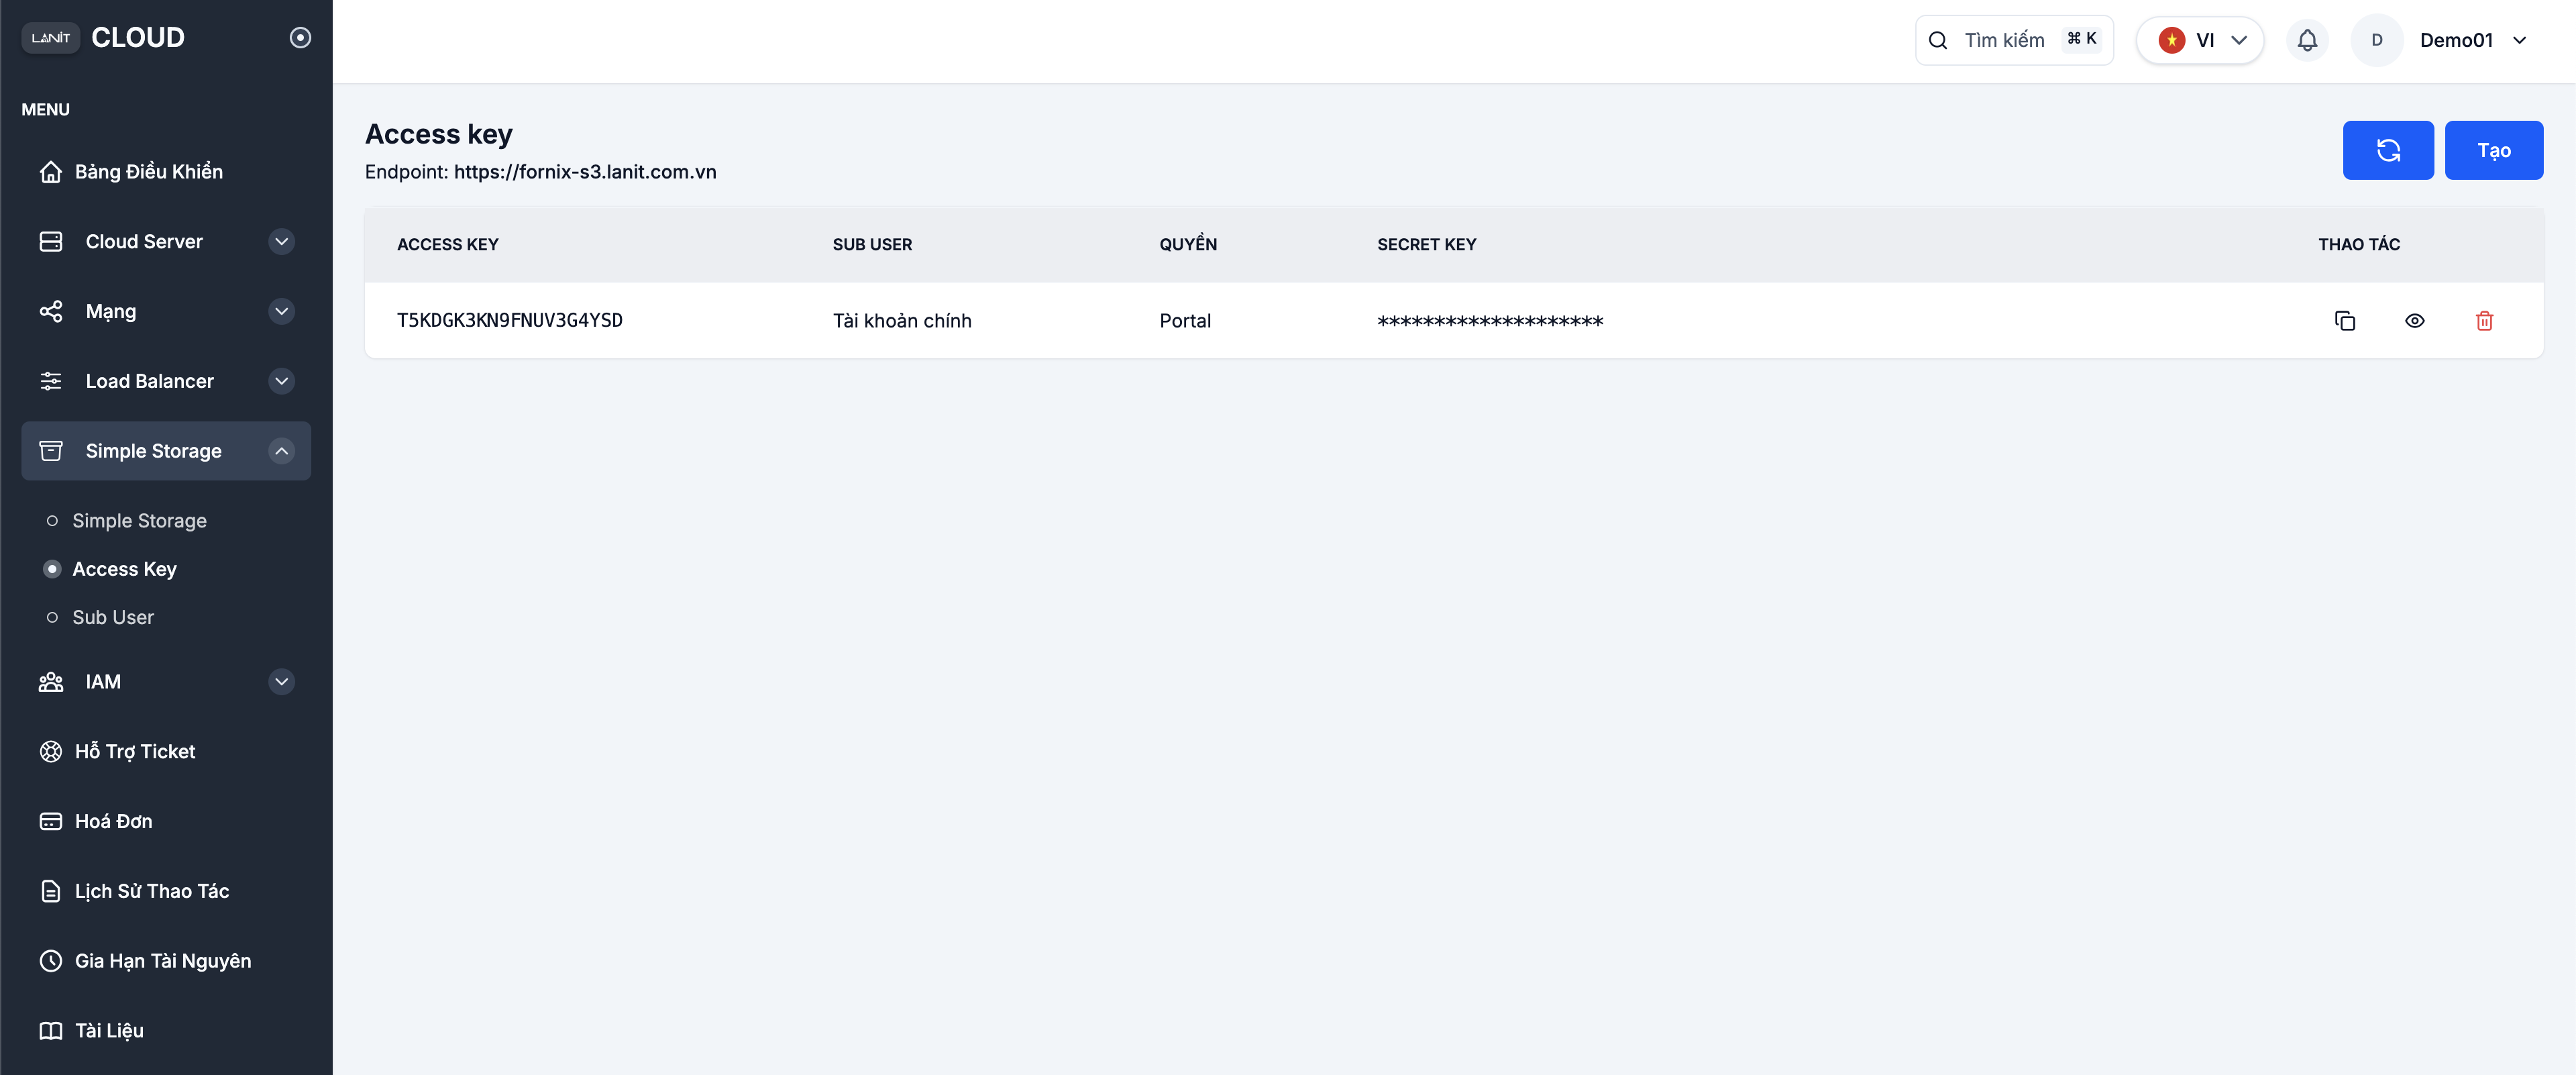
- An Access Key ID and Secret Access Key from the LANIT Cloud Portal (see Access Key)
Installing S3 Browser
Step 1: Download S3 Browser from the official website: https://s3browser.com
Choose the appropriate edition:
- Free — free of charge, sufficient for individuals and small businesses
- Pro — includes advanced features such as FTP bridge and scheduled sync
Step 2: Run the .exe installer and follow the on-screen instructions.
Step 3: Launch S3 Browser after installation.
Adding a LANIT Cloud Account
Step 1: On first launch, S3 Browser opens the Add New Account dialog automatically. Otherwise, go to Accounts → Add New Account.
Step 2: Fill in the account details:
| Field | Value |
|---|---|
| Account Name | A friendly name (e.g., LANIT Cloud) |
| Account Type | Select S3 Compatible Storage |
| REST Endpoint | s3.lanit.com.vn |
| Access Key ID | Your Access Key ID from the LANIT Cloud Portal |
| Secret Access Key | Your Secret Access Key from the LANIT Cloud Portal |
Step 3: Uncheck Use secure transfer (SSL/TLS) only if you have a specific reason; otherwise leave it enabled (HTTPS recommended).
Step 4: Tick Use path style URLs — required for LANIT Cloud.
Step 5: Click Add new account to save.
Main Interface
After a successful connection, S3 Browser displays:
- Left panel: Bucket directory tree — a list of all buckets in your account
- Right panel: Contents of the selected bucket/folder
- Toolbar: Common actions (upload, download, create bucket, delete, etc.)
Basic Operations
Creating a New Bucket
Step 1: Right-click in the bucket list area (left panel) and select Create New Bucket.
Step 2: Enter the bucket name and click OK.
Uploading Files/Folders
Method 1 — Drag & Drop: Drag files or folders from Windows Explorer and drop them into the bucket content area on the right.
Method 2 — Upload Button:
- Select the destination bucket/folder in the left panel
- Click Upload on the toolbar
- Select the files to upload
Method 3 — Upload Folder:
- Click Upload → Upload Folder
- Select the folder to upload
Downloading Files
Step 1: Select the file to download in the right panel.
Step 2: Drag the file to Windows Explorer, or right-click and select Download.
Step 3: Choose the destination folder on your computer.
Deleting Objects
Step 1: Select the file or folder to delete.
Step 2: Press the Delete key or right-click and select Delete.
Step 3: Confirm the deletion.
Creating a Shared Link (Presigned URL)
Step 1: Right-click a file and select Generate Presigned URL.
Step 2: Choose the expiration time.
Step 3: Copy the URL and share it.
Folder Sync
S3 Browser supports two-way synchronization between a local folder and a bucket:
Step 1: Go to Tools → Folder Sync.
Step 2: Select the source folder (local) and the destination bucket/prefix.
Step 3: Choose the sync mode:
- Upload changes only: Only upload new or modified files
- Bidirectional: Sync in both directions
- Mirror: Delete destination files that no longer exist in the source
Step 4: Click Synchronize to start.
Advanced Settings
Configuring Upload/Download Thread Count
Go to Edit → Settings → Connection:
- Number of worker threads: Number of parallel processing threads (default is 5; increase to improve speed)
Enabling HTTPS
Go to Accounts → Edit Account Settings and make sure Use secure transfer (SSL/TLS) is enabled.
Troubleshooting
Connection error "Unable to connect":
- Check the endpoint: it must be
s3.lanit.com.vn(without a leadinghttps://) - Enable Use path style URLs
- Verify your Access Key ID and Secret Access Key are correct
Buckets not visible:
- Check that the Access Key has the
s3:ListBucketpermission - Try Refresh on the bucket list
Slow uploads:
- Increase the thread count in Settings → Connection
- Check your network connection