Last updated on
Create a Load Balancer
Creating the Load Balancer is step one. Once it's up, add a Listener, Pool and Members so it can start receiving traffic.
Prerequisites
- Backend VMs are already running the app on a known port (e.g. a web server on port 80).
- The backend VMs are in the same Network where the Load Balancer will be created.
- Security Groups allow the Load Balancer to reach the backends.
Steps
Step 1. Open the Load Balancer page
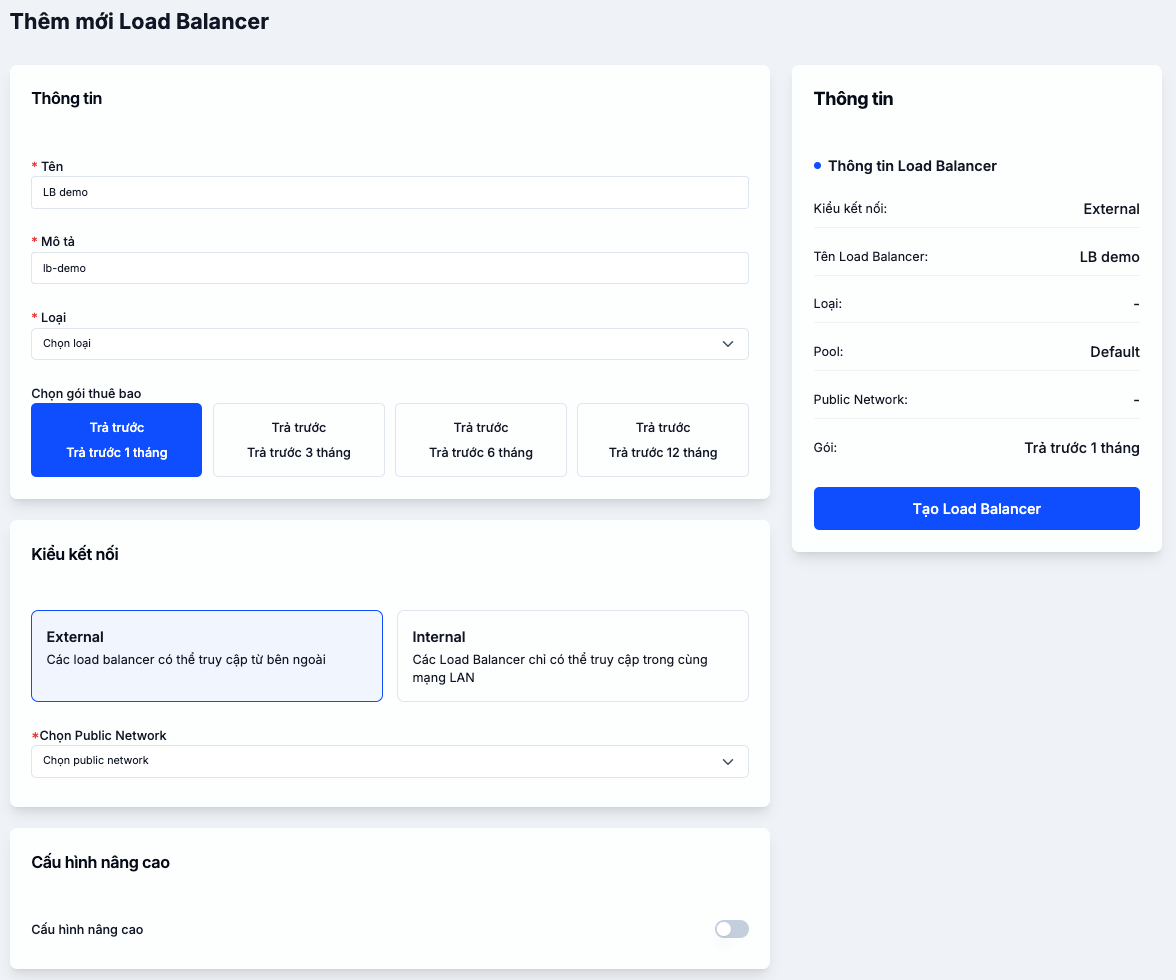
Click Load Balancer in the left menu and click + Create Load Balancer.

Step 2. Configure the Load Balancer
| Field | Meaning |
|---|---|
| Load Balancer name | Memorable name — include the role (lb-web-prod) |
| Description (optional) | Note the purpose |
| Load Balancer type | Resource plan (CPU/RAM) — pick based on expected traffic |
| Connection mode | Public (has a public IP) or Private (internal only) |
| Advanced configuration (optional) | Skip and configure after creation |
Public vs Private connection mode
| Public | Private | |
|---|---|---|
| Has a public IP? | ✓ | ✗ |
| Receives Internet traffic | ✓ | ✗ |
| Use case | Website, public API | Internal microservice, tier-to-tier connectivity |
Step 3. Create
Review the configuration and click Create Load Balancer. The Load Balancer appears in the list, ready for you to add a Listener and Pool.
Next steps
- Configure Listener, Pool, Member — bring the Load Balancer into service.
- Import an SSL certificate — for HTTPS termination.
- Security Group — make sure backends accept connections from the Load Balancer.