Snapshot & backup schedule
A snapshot captures the state of a VM or volume at a point in time. Restoring from a snapshot rolls the system back to exactly that point — very useful when:
- You're about to make a big change (OS update, new release, database migration).
- Something broke and you need to roll back.
- You want to spin up a new VM that's identical to an existing one.
A backup schedule automates snapshot creation on a recurring basis — no need to remember to do it by hand.
VM snapshot (Server Snapshot)
A VM snapshot captures the entire system disk. Use it to restore the VM or to create a new VM from this snapshot.
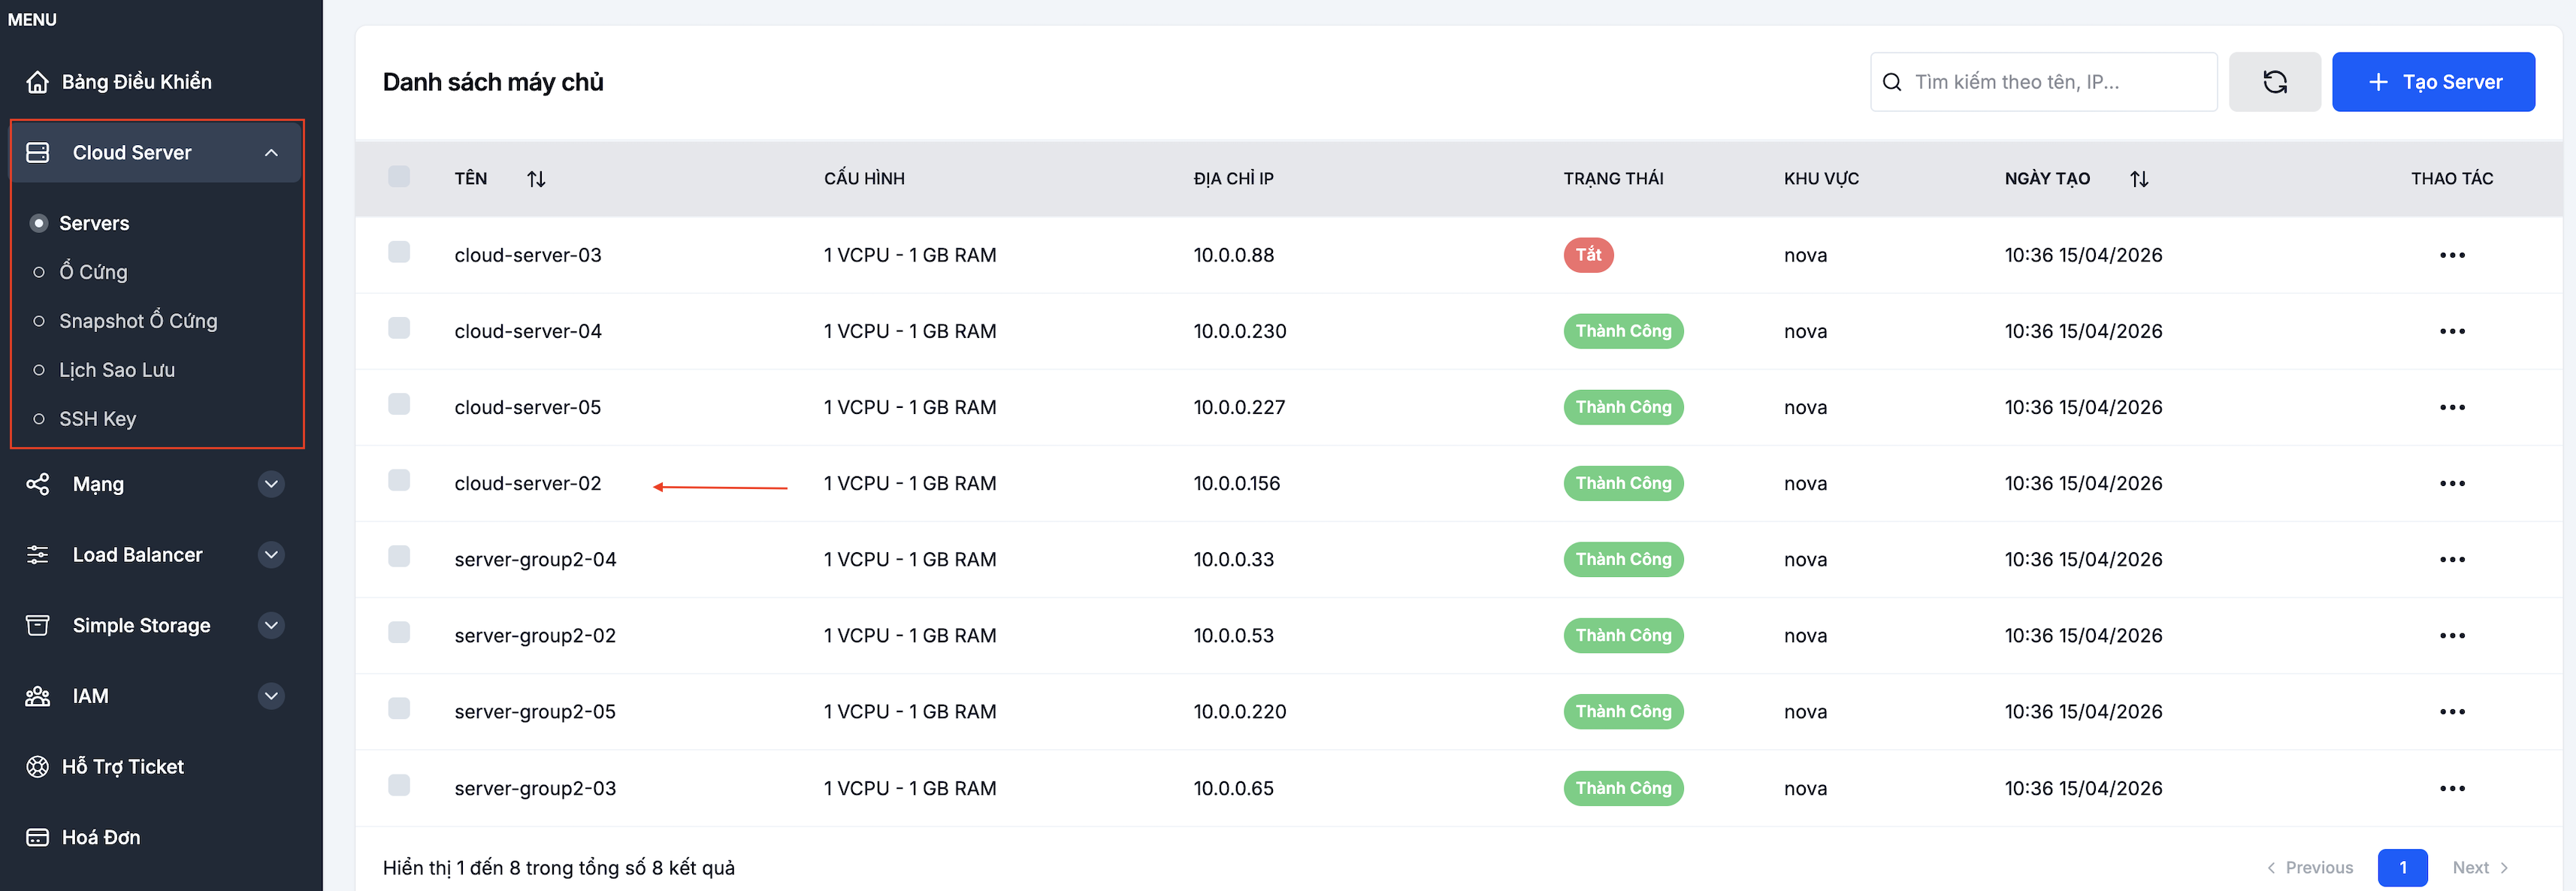
Step 1. Open the VM detail page
Go to Cloud Server → Servers and click the VM.
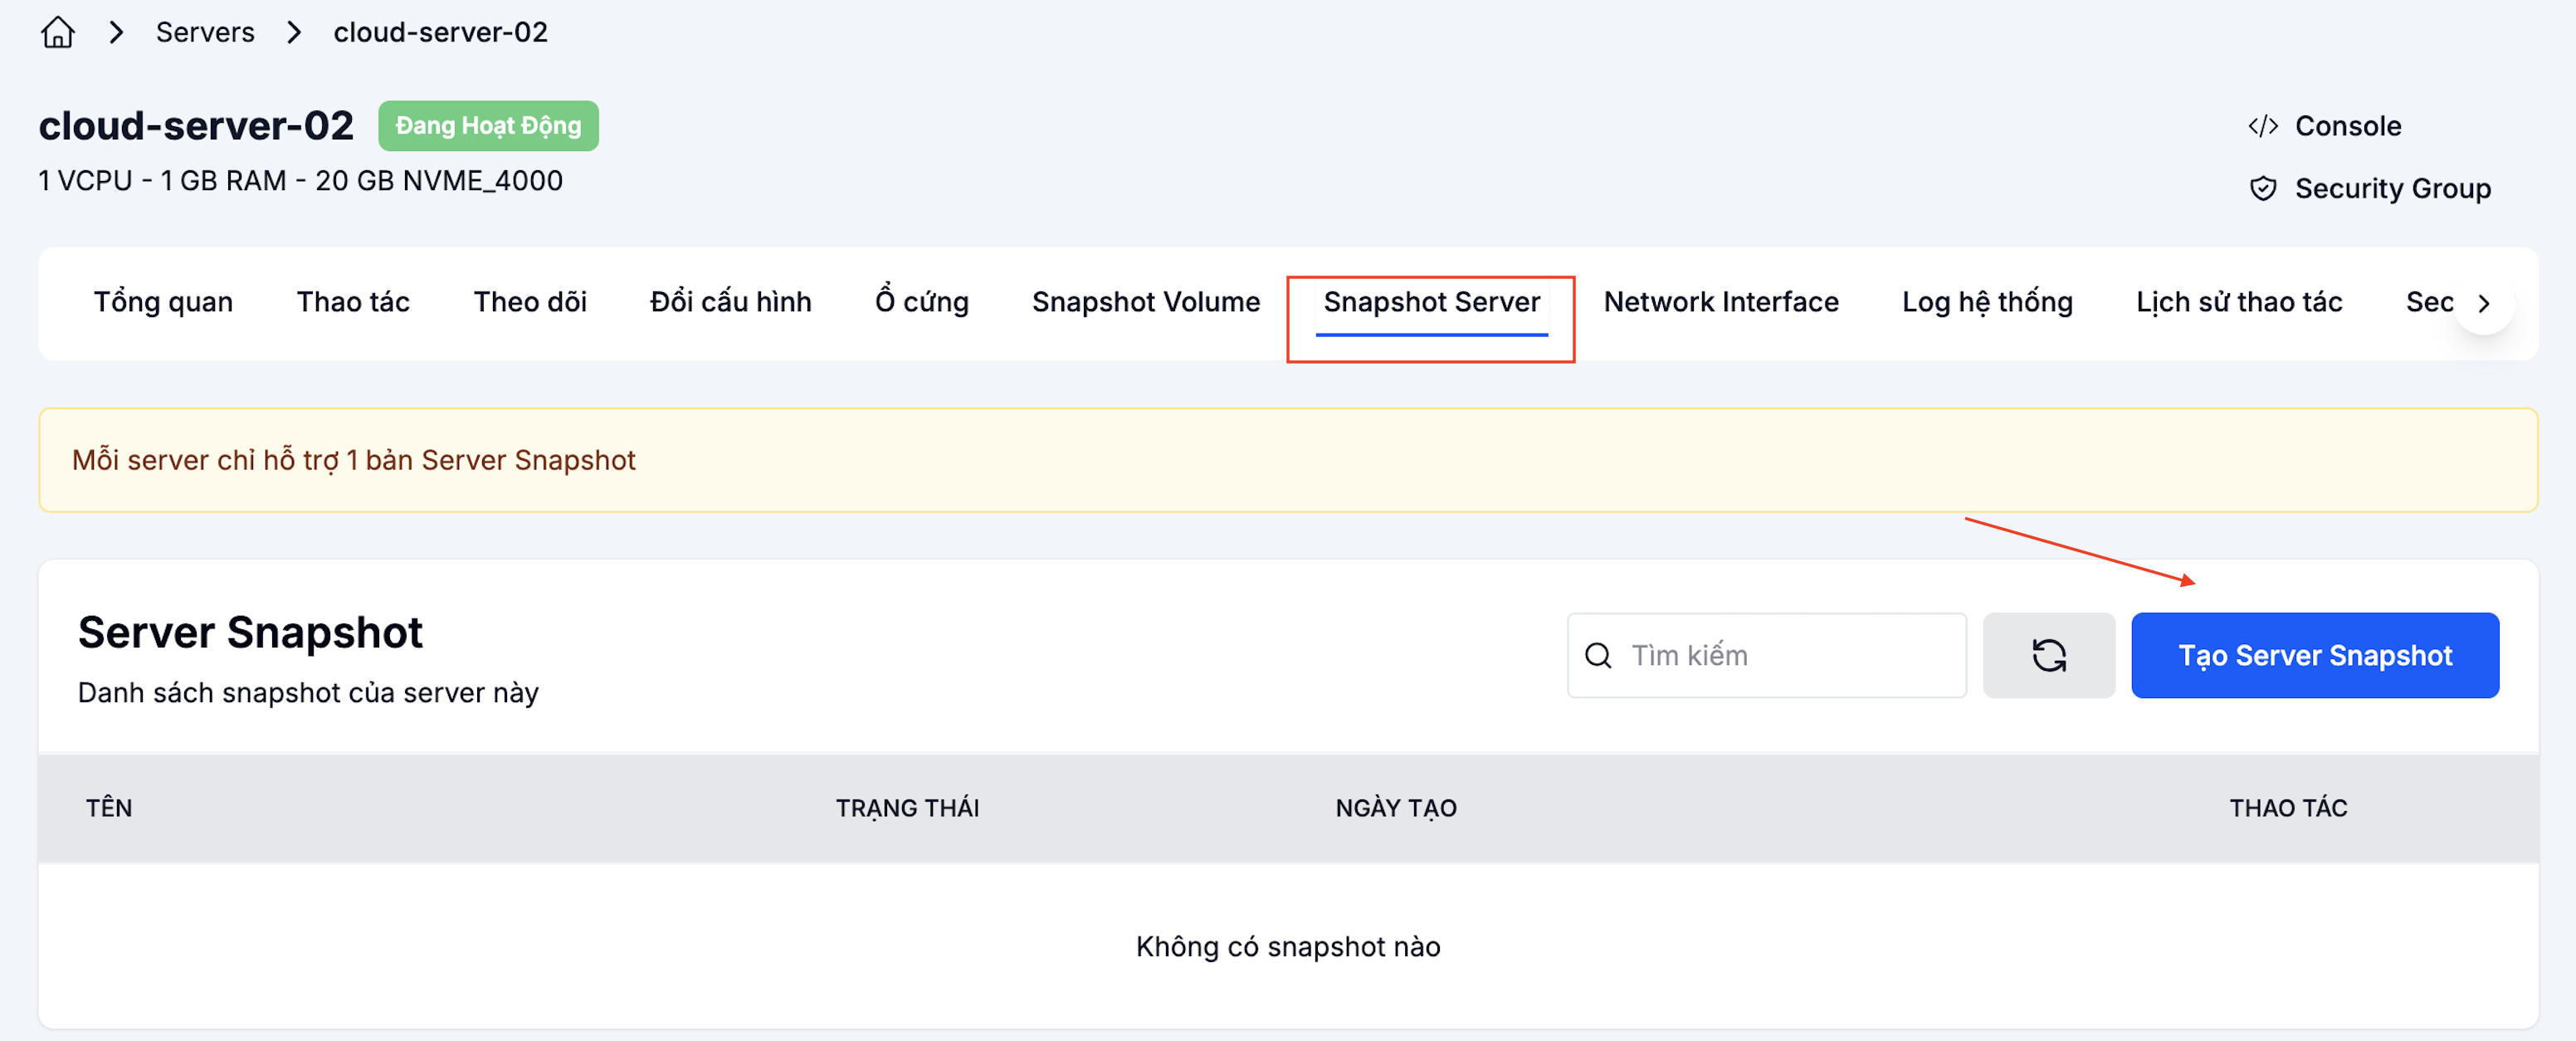
Step 2. Server Snapshot tab → Create Snapshot
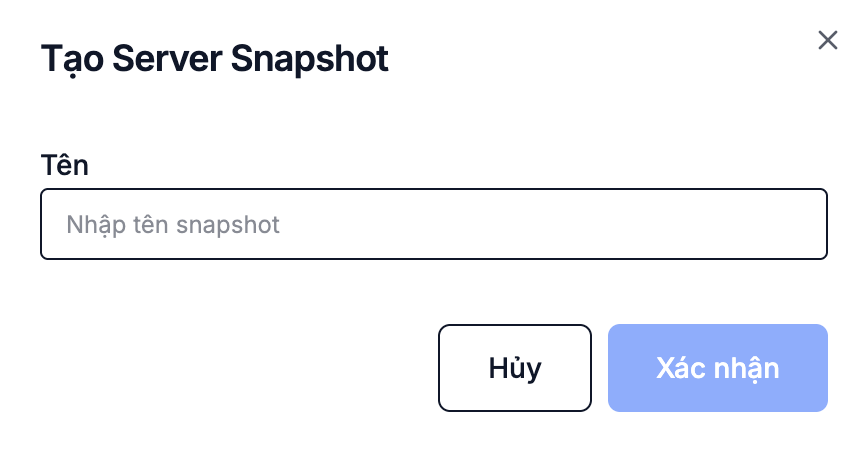
Step 3. Name and confirm
Use a memorable name (for example before-upgrade-2026-05-28) and click Confirm.
The process takes a few minutes depending on disk size. The snapshot then appears in the list and can be used to create a new VM.
Volume snapshot
A volume snapshot captures the data on a single volume. It's the right fit when you need finer-grained backups per volume (for example, snapshotting a database volume before a migration).
Step 1. Open Volume Snapshot
Go to Cloud Server → Volume Snapshot and click + Create Snapshot.

Step 2. Fill in the form
- Volume — the volume to snapshot.
- Snapshot name — make it clear when and why you took it.
- Billing cycle — how long the snapshot is retained.
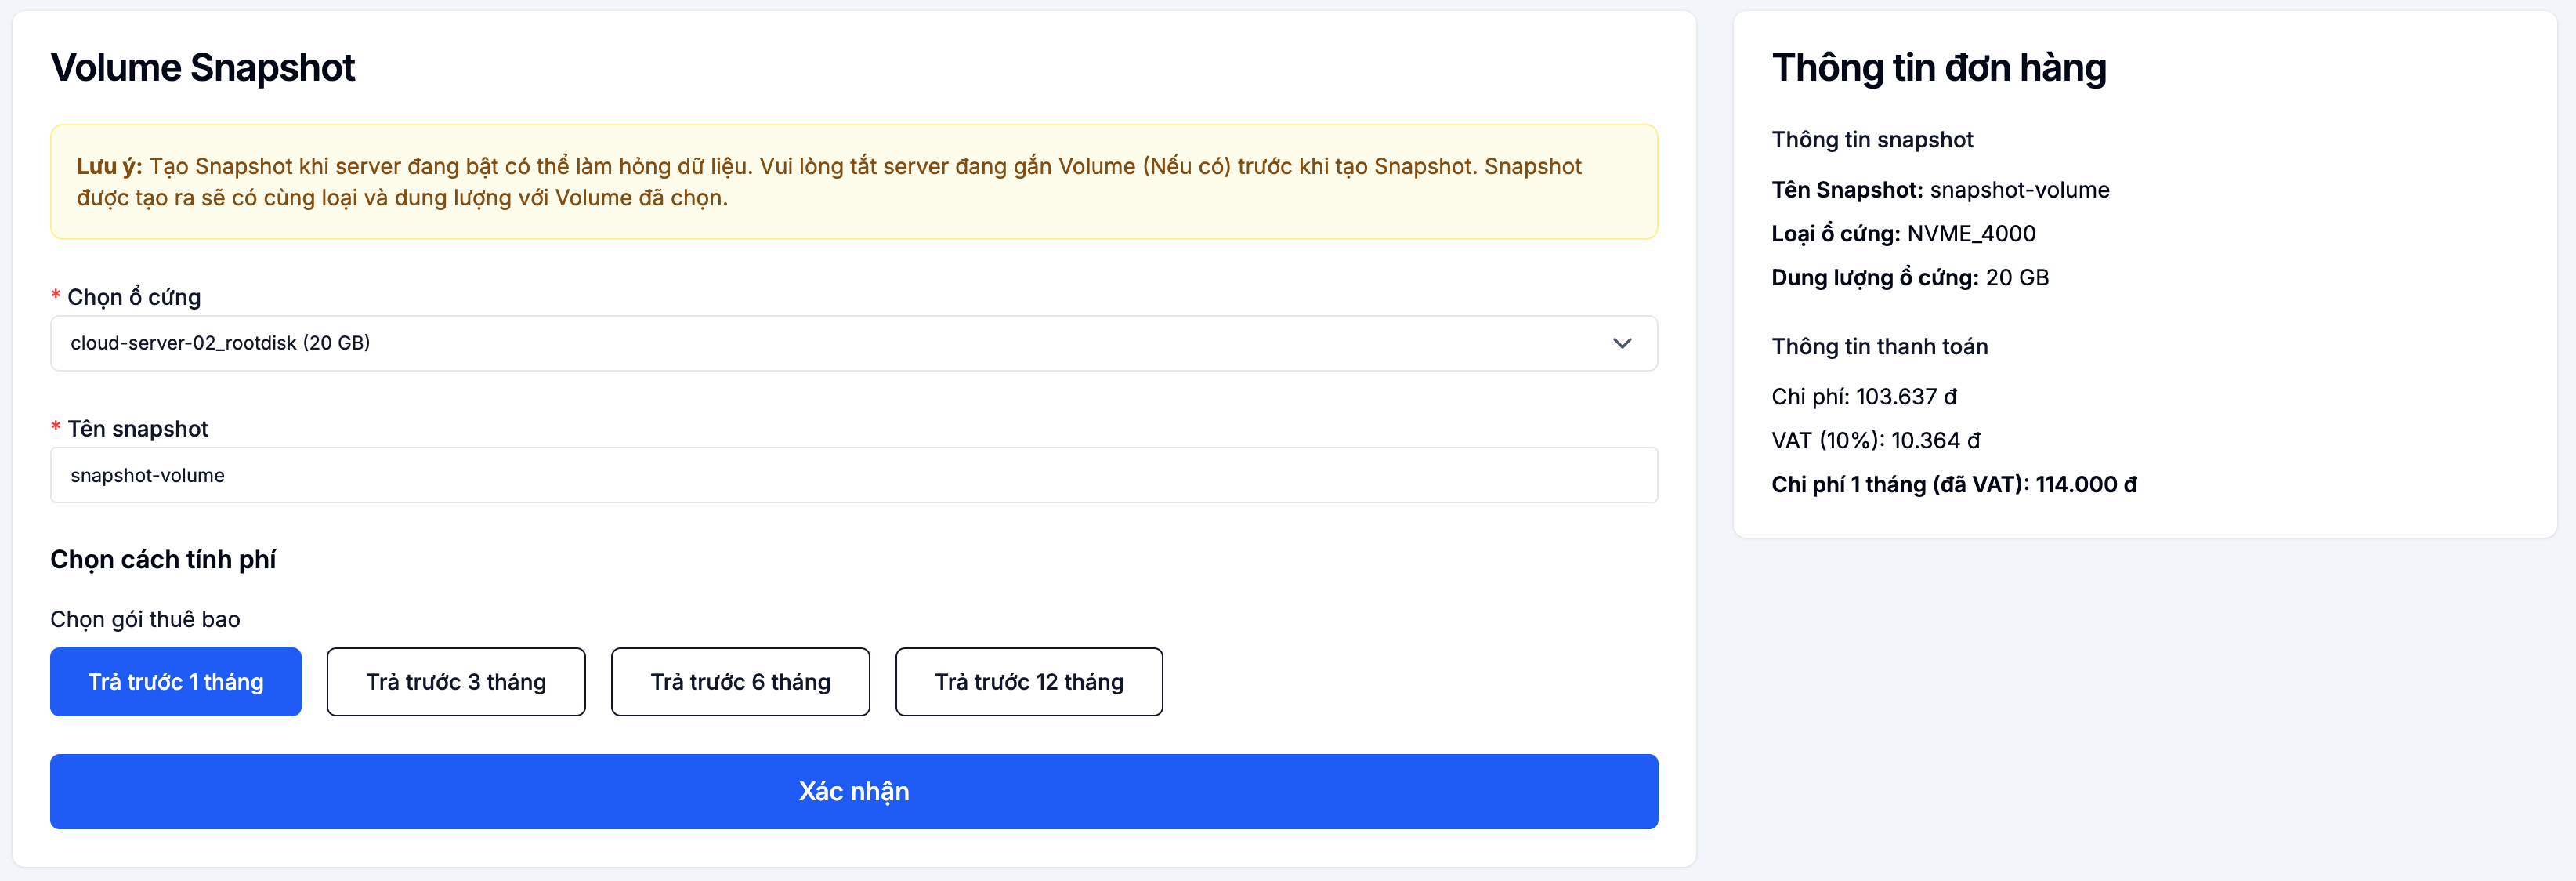
Click Confirm to create.
Automated backup schedule
A backup schedule creates VM snapshots on a recurring basis — there's always a recent snapshot to fall back on without any manual work.
Step 1. Open Backup schedule
Go to Cloud Server → Backup Schedule and click + Create backup schedule.

Step 2. Configure the schedule
| Field | Meaning |
|---|---|
| VM | The VM to back up automatically |
| Start time | The hour the backup runs each day — pick an off-peak time (e.g. 03:00) |
| Frequency | Daily / weekly / monthly |
| Max retained backups | Beyond this number, the oldest snapshot is auto-deleted |
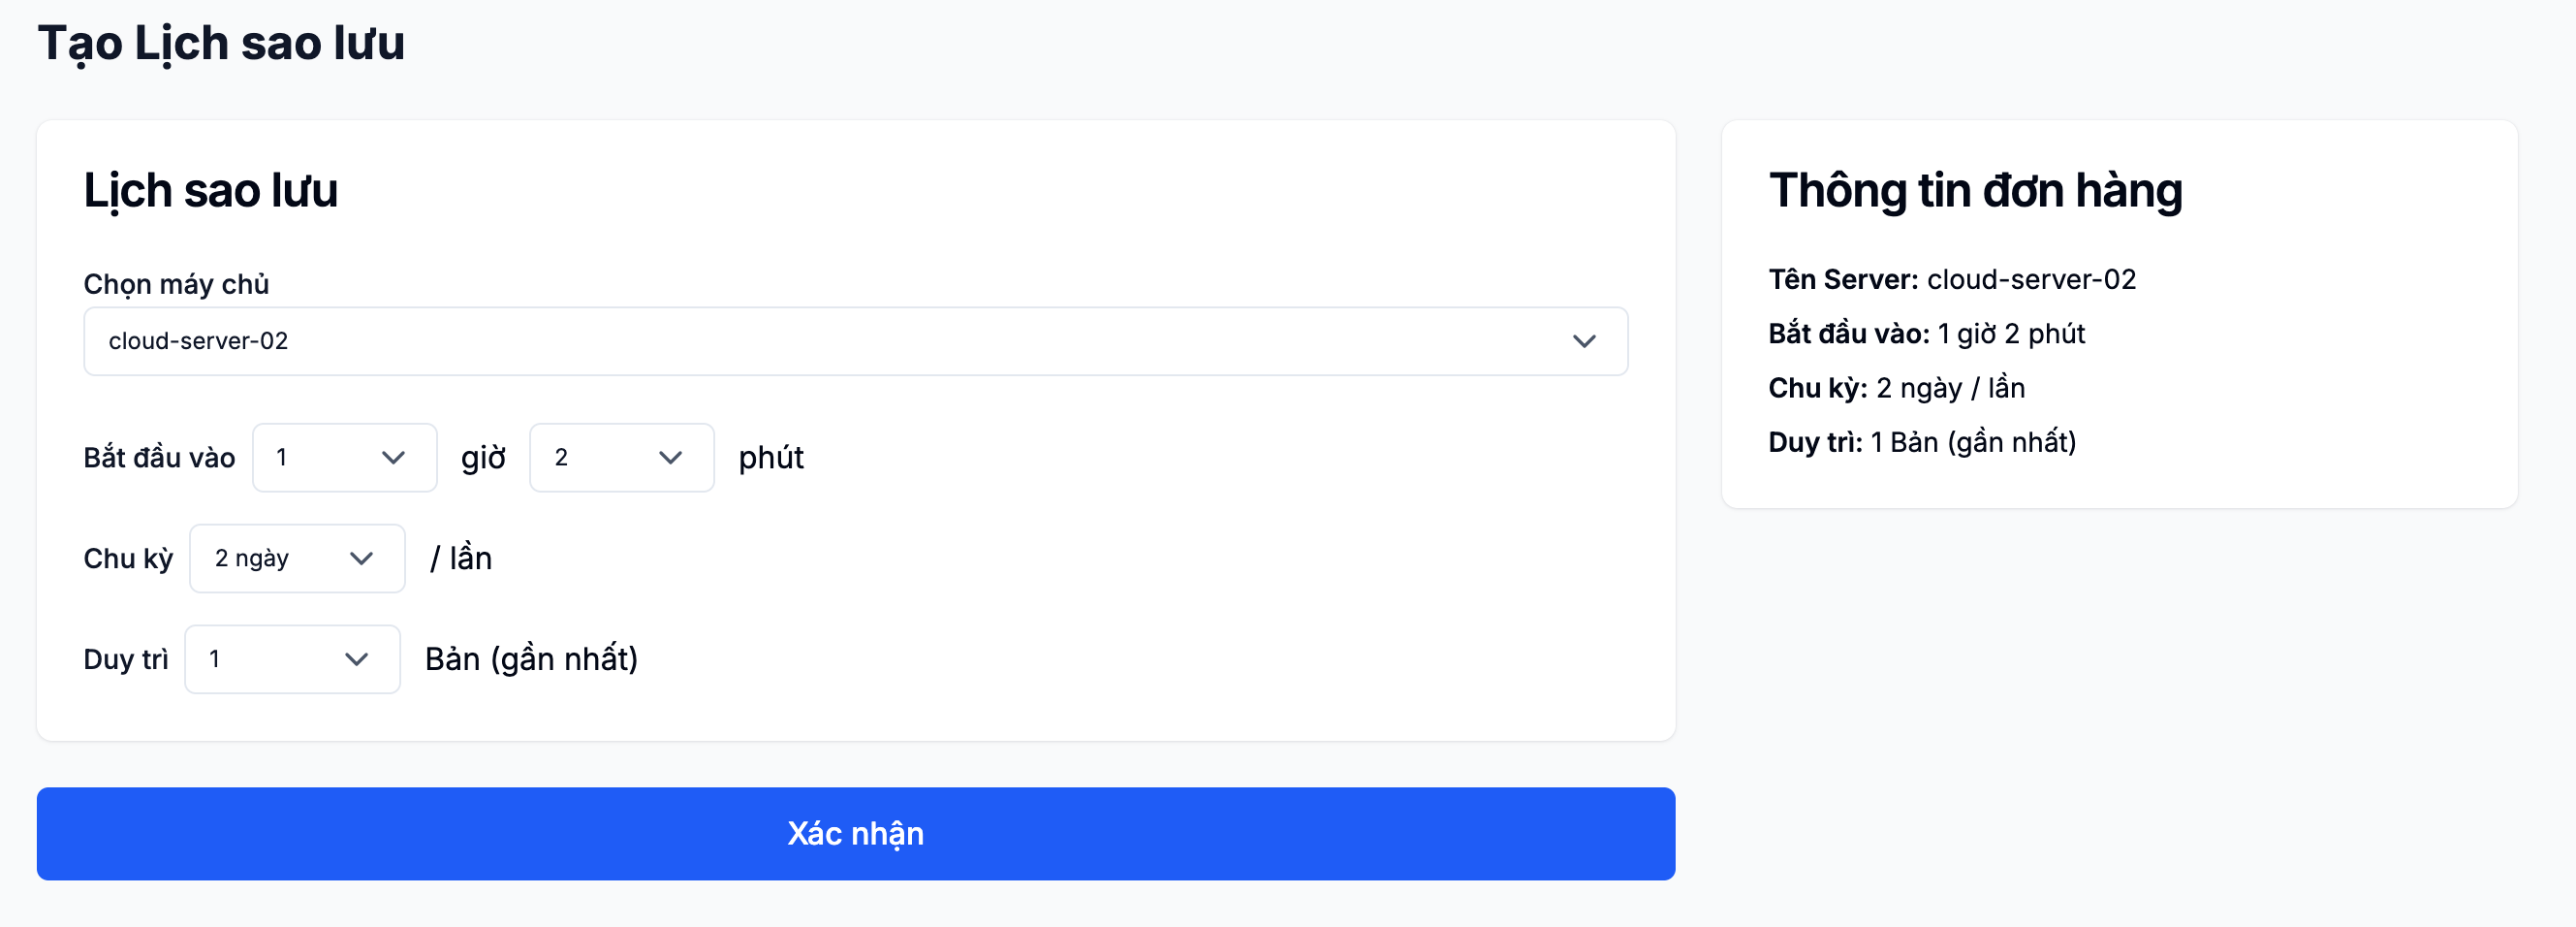
Click Confirm to activate. The schedule then runs automatically at the configured time.
Restore from a snapshot
- VM snapshot: use it to create a new VM — the original VM is not overwritten.
- Volume snapshot: create a new volume from the snapshot and attach it to a VM.
This is the safe path — the original VM and the original volume stay intact until you delete them yourself.
- When you delete the source Server/volume, related snapshots are deleted too. Be careful if you need the snapshot as a backup.
- The safest restore path is to spin up a new VM/volume from the snapshot, verify it, then delete the original.