Attach a volume to a VM
A volume in the Available state can be attached to any VM in the same account. The VM does not need to be stopped before attaching (hot-attach).
Each volume can be attached to exactly one VM at a time. To share data between multiple VMs, use Object Storage (Simple Storage) or a self-hosted NFS share.
Attach the volume in the Portal
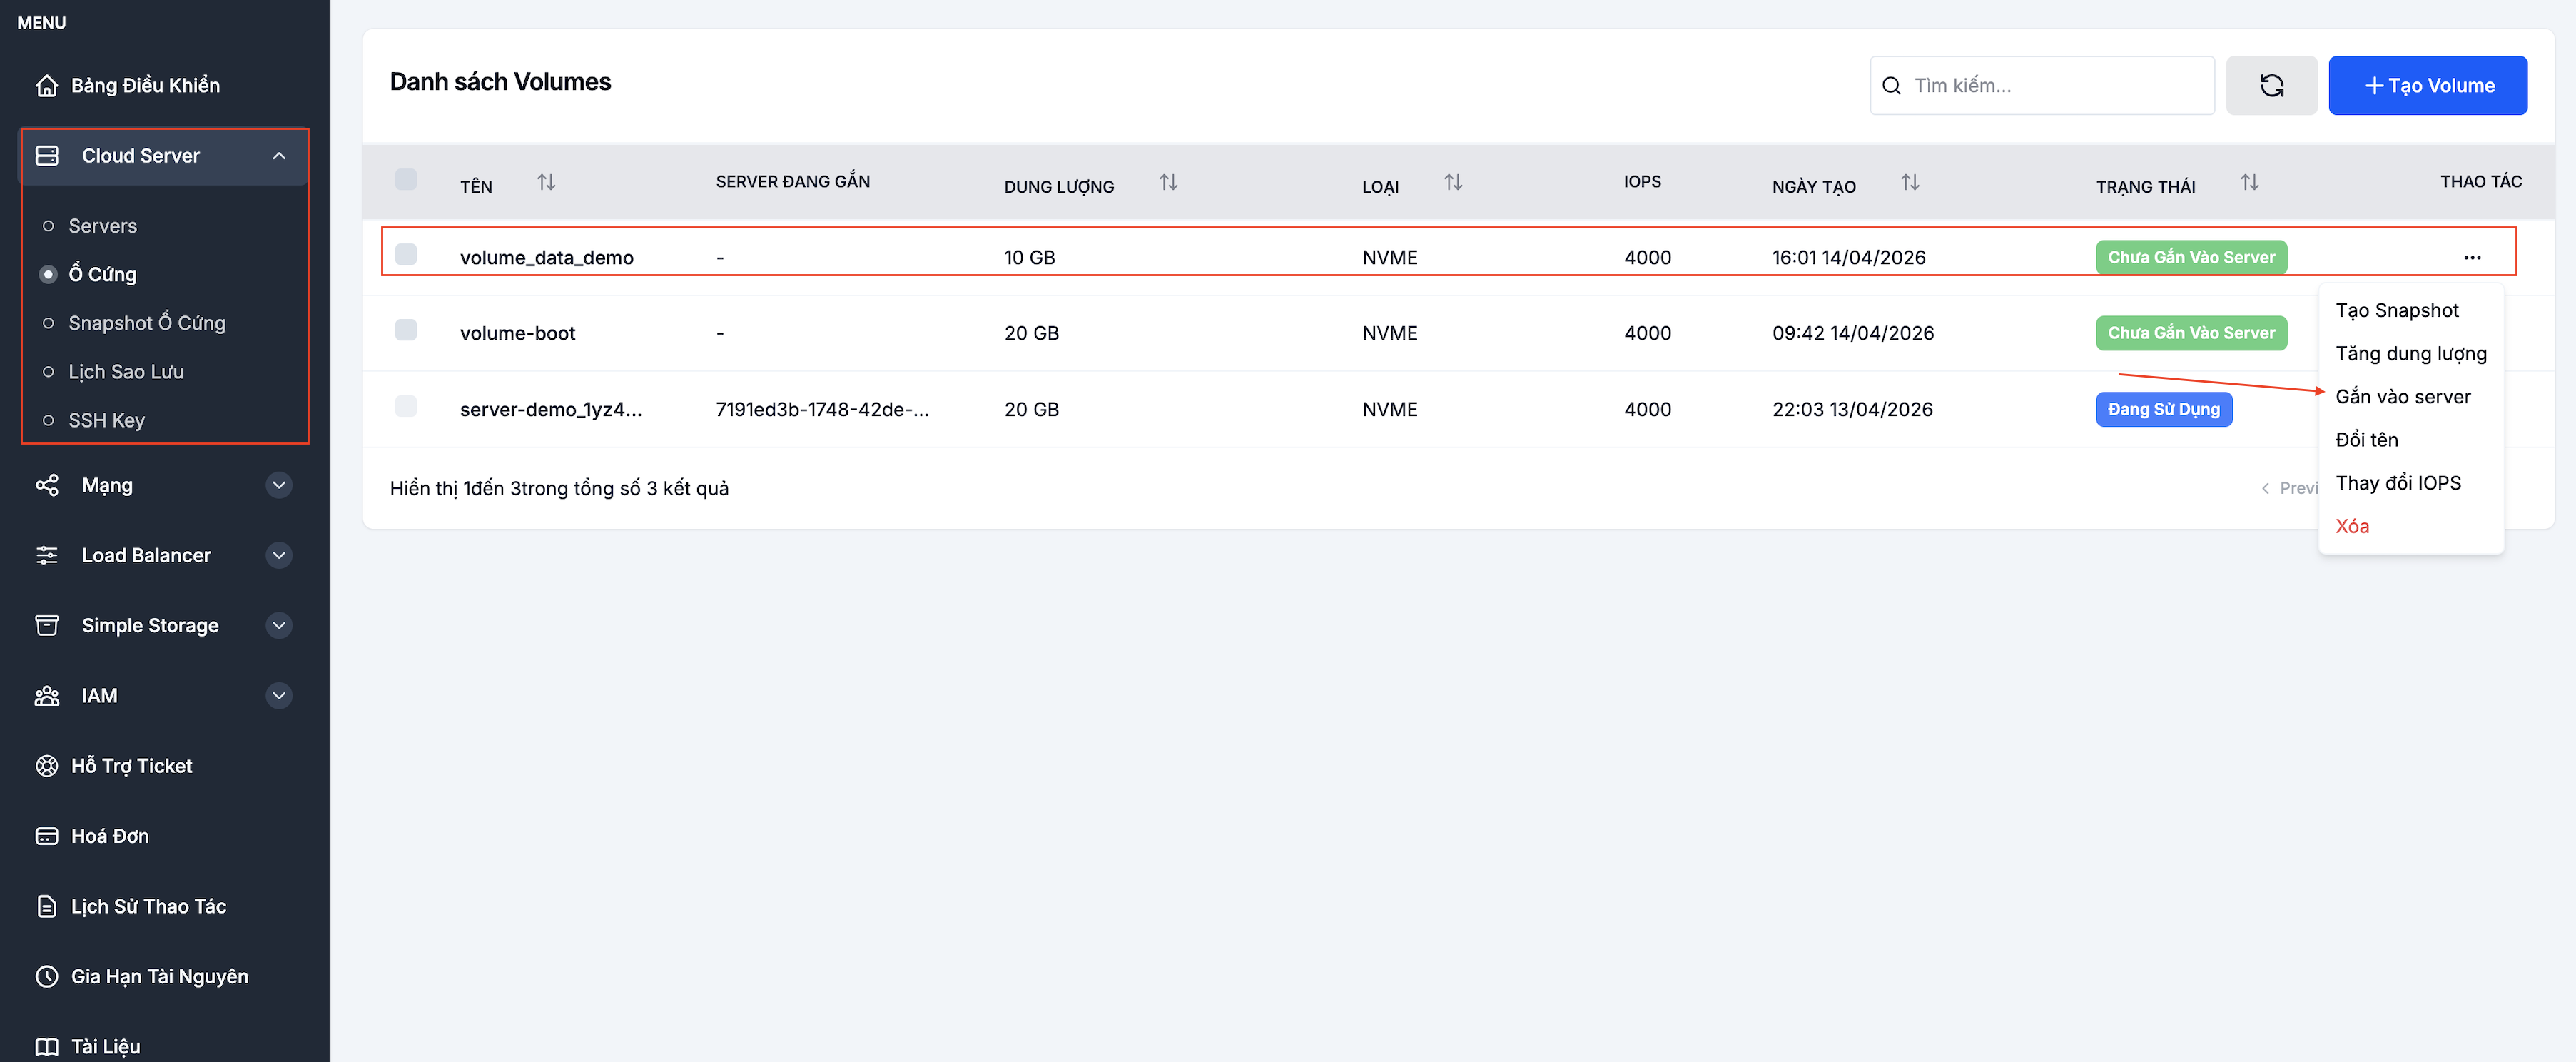
Step 1. Open the action menu on the volume
Go to Cloud Server → Volumes, click ⋯ next to the volume → Attach to server.
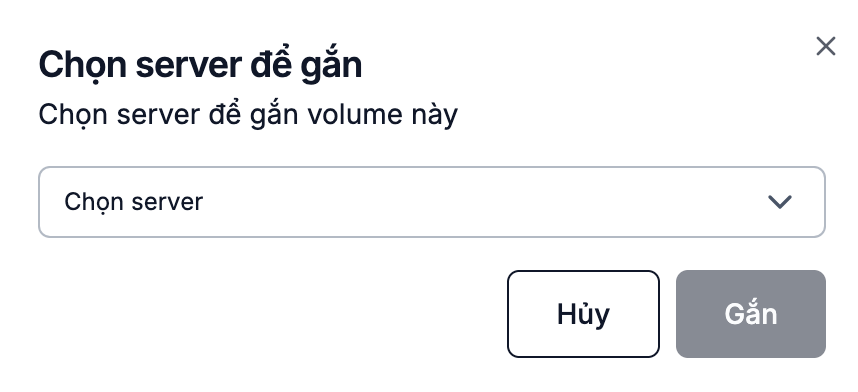
Step 2. Pick the target VM
Pick a VM from the dropdown and click Attach.
The volume transitions to In use and the Attached server column shows the VM name.
Format and mount inside the OS
A freshly attached volume is just a raw block device — there is no filesystem yet. Format and mount it inside the OS before using it.
Linux
# 1. Find the device name of the new volume (usually /dev/sdb, /dev/sdc...)
lsblk

# 2. Create an ext4 filesystem
sudo mkfs.ext4 /dev/sdb

# 3. Create a mount point and mount the volume
sudo mkdir -p /mnt/data
sudo mount /dev/sdb /mnt/data

# 4. Mount on boot — add a line to /etc/fstab
sudo blkid /dev/sdb   # grab the UUID
echo "UUID=<uuid> /mnt/data ext4 defaults,nofail 0 2" | sudo tee -a /etc/fstab

# 5. Verify
df -h /mnt/data
Device names (/dev/sdb) can shift after a reboot or when extra volumes are attached. Use the UUID in /etc/fstab for a stable mount.
Windows
- Open Disk Management (
diskmgmt.msc). - The new disk shows up as Offline / Not Initialized — right-click → Initialize Disk (pick GPT for disks > 2 TB).
- Right-click the empty area → New Simple Volume → format as NTFS → assign a drive letter.
Next steps
- Resize the volume — when you need more capacity.
- Detach the volume — when you no longer need it on the VM or want to move it.
- Snapshot the volume — back up the volume state.