Create a VM
This page walks through the full Cloud Server provisioning flow.
- You are signed in to the Portal.
- The account has enough balance for the plan you pick.
- For the VM to reach the Internet: the Router External Gateway is enabled.
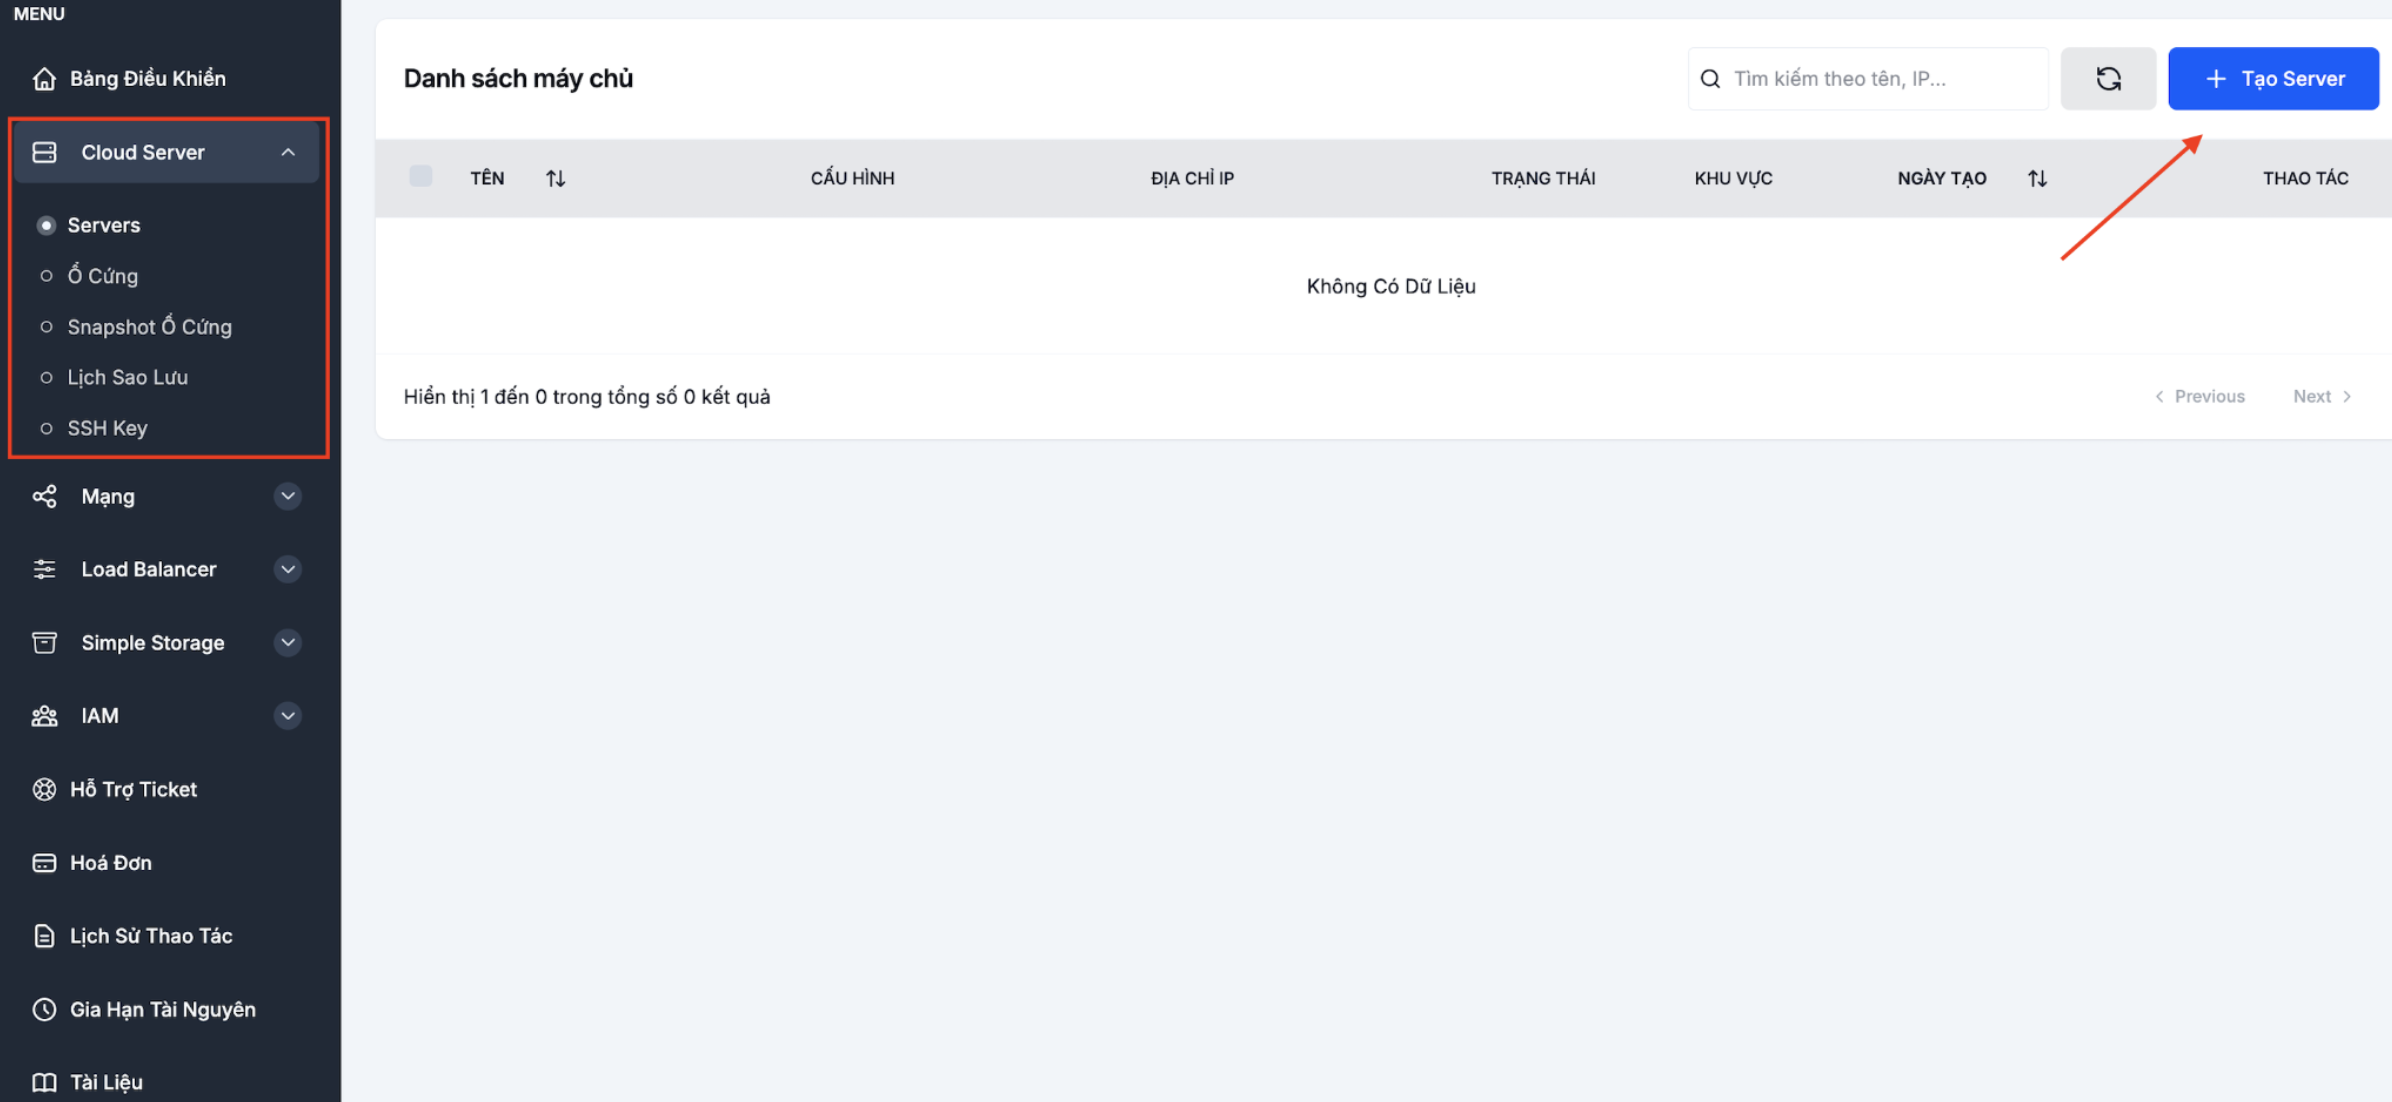
Step 1. Open the create-VM page
Go to Cloud Server → Servers in the left menu and click + Create Server.
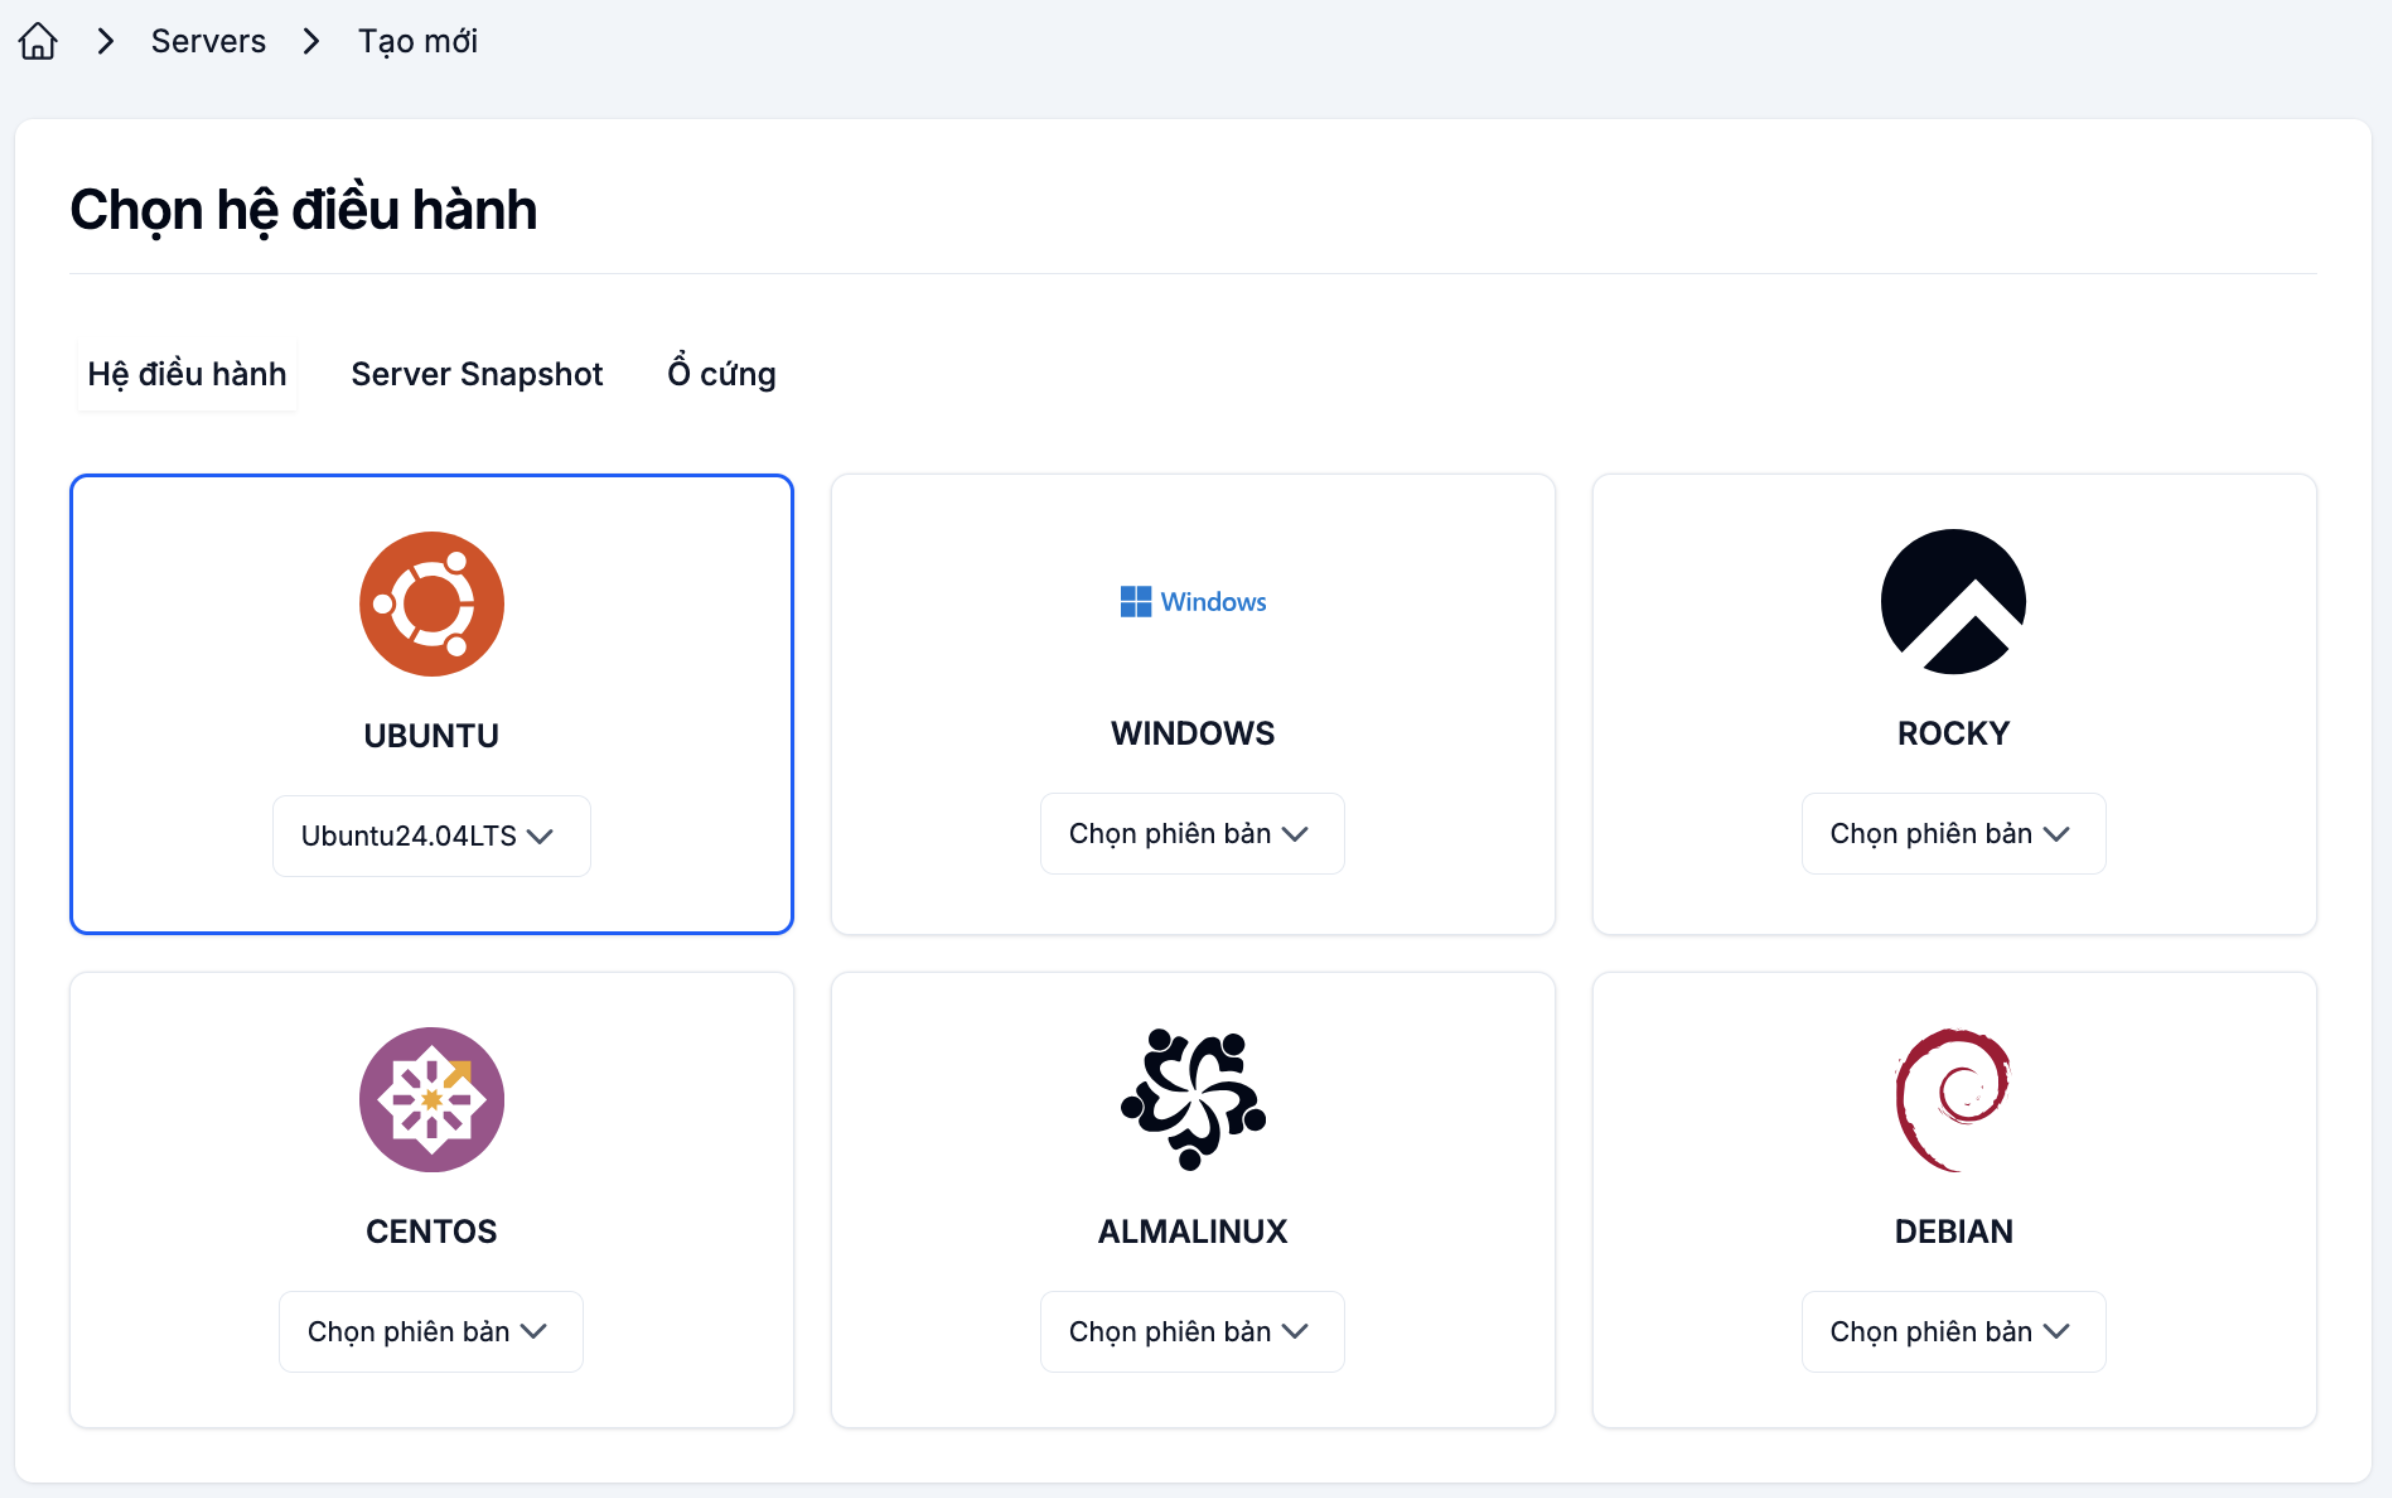
Step 2. Pick a boot source
LANIT Cloud supports three boot sources:
Operating System
Built-in OS images: Ubuntu, CentOS, AlmaLinux, Rocky Linux, Debian, Windows Server. Use this for a brand-new VM.
Server Snapshot
Boot from a snapshot of an existing VM — handy for cloning an environment or building a VM from a prepared template.

Volume
Boot from an existing bootable volume — useful for custom images or restoring an old volume.

Step 3. Pick the billing plan
- Hourly — flexible; stopping the VM stops the compute charge (volumes still bill).
- Monthly — discounted; minimum commitment of one month.

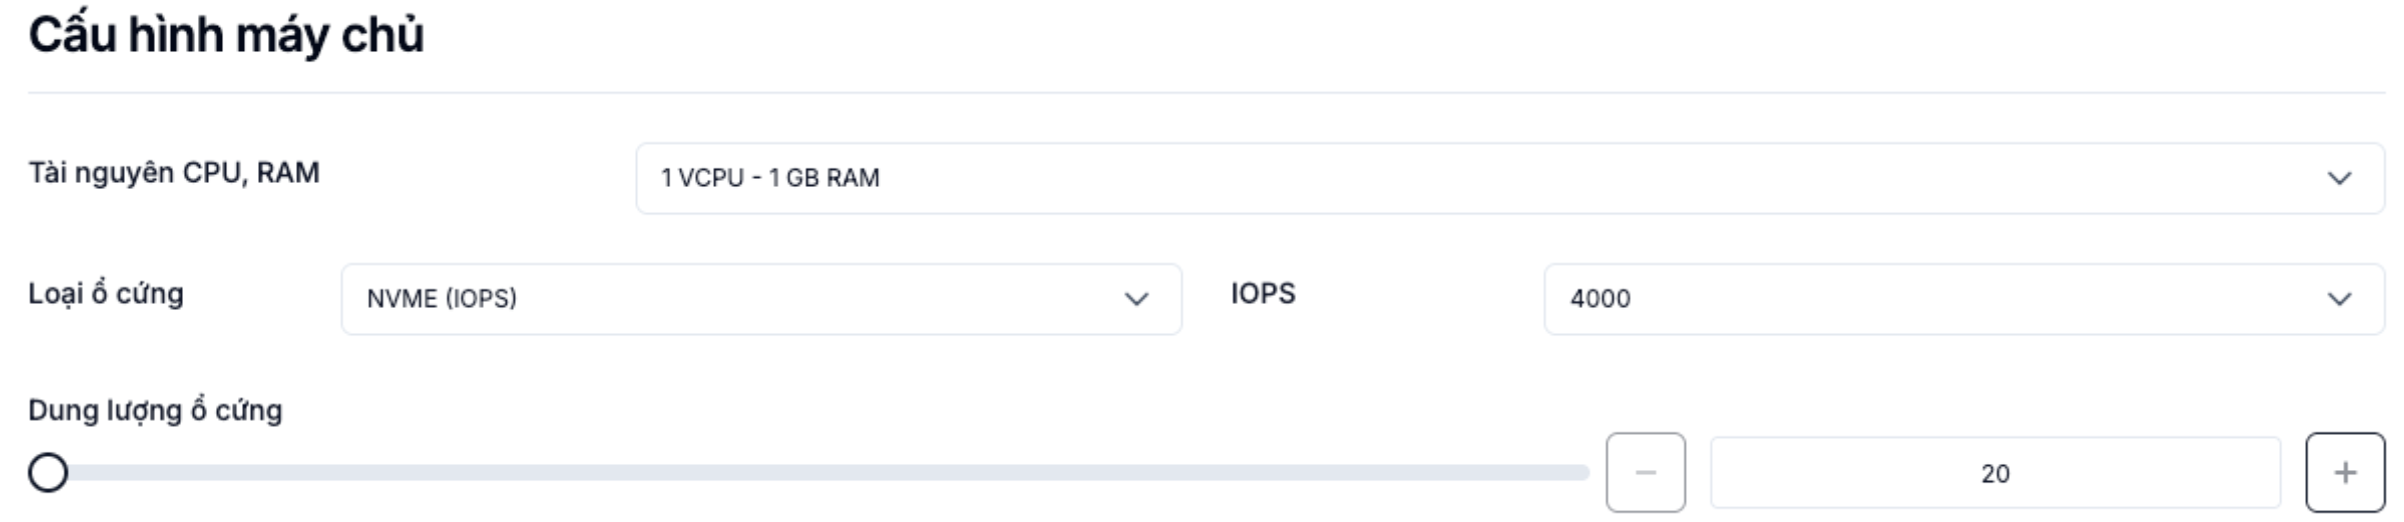
Step 4. Configure resources
Pick a preset or Custom to enter vCPU, RAM and Storage manually.
| Resource | Recommendation |
|---|---|
| vCPU | 1–2 for web/staging, 4–8 for production |
| RAM | 2–4 GB for web, 8–16 GB for databases |
| Storage | SSD NVMe for high IOPS, SSD for general-purpose workloads |
You can resize the VM later.
Step 5. Networking and security
- Network / Subnet — pick the internal network (defaults to
private-netwith10.0.0.0/24). - Security Group — pick the firewall group(s) that gate inbound/outbound traffic. You can pick more than one.
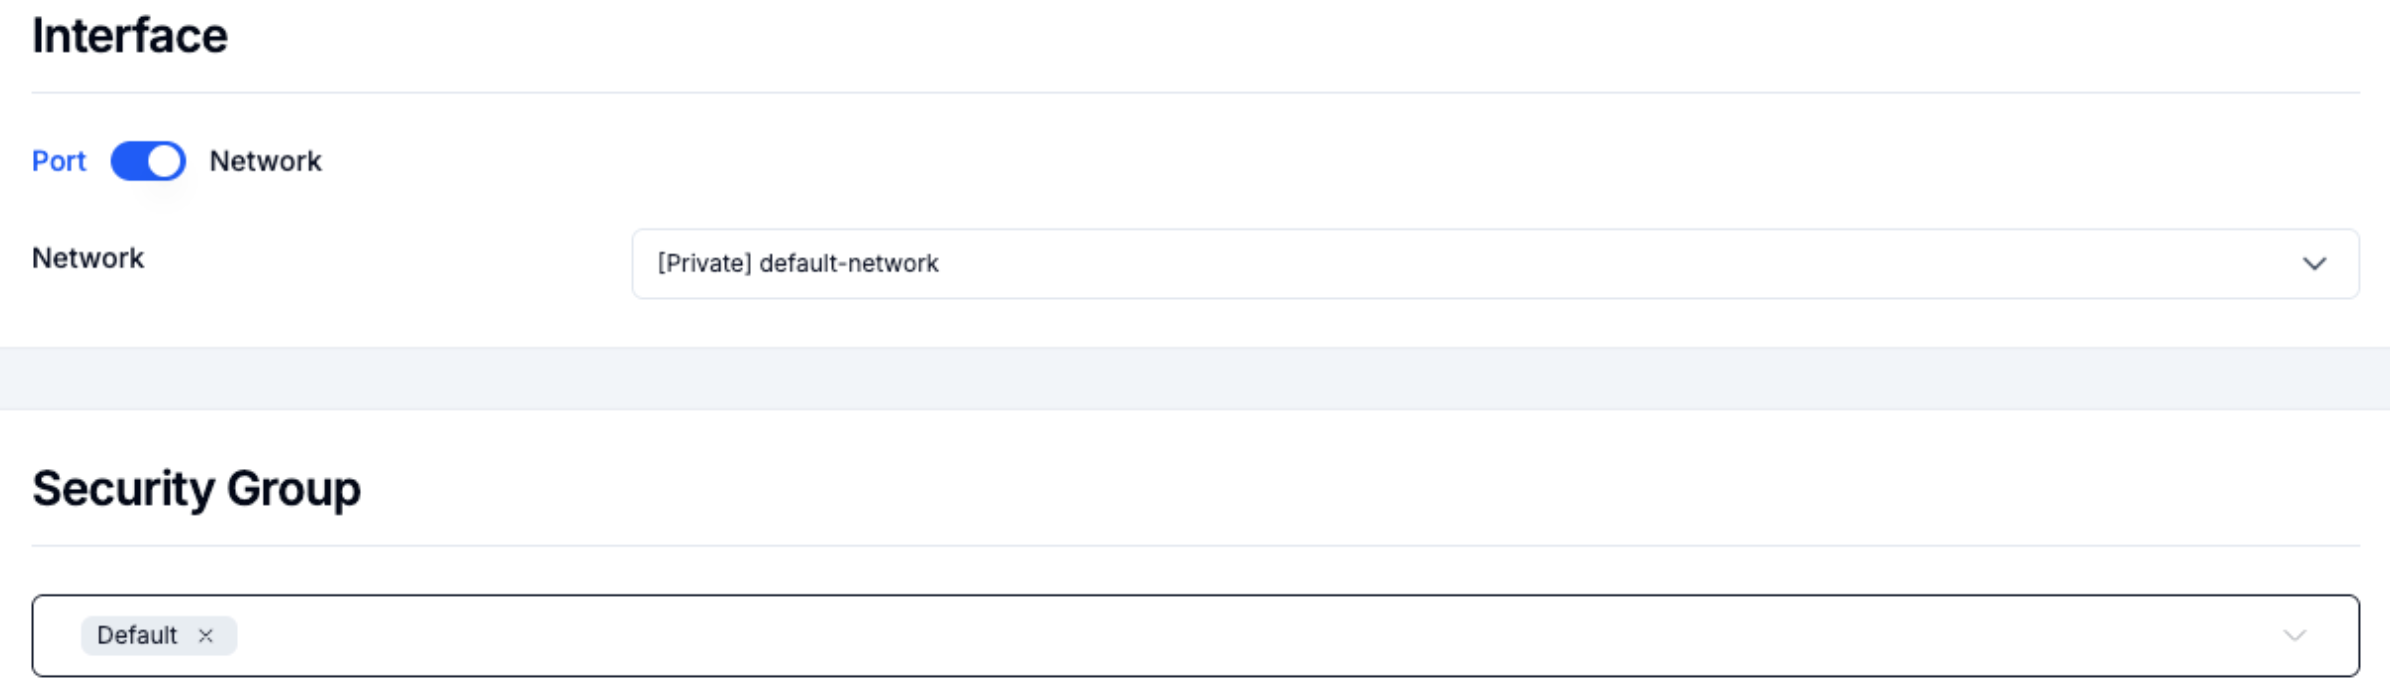
The default Security Group allows all outbound traffic and blocks inbound. If you need SSH/RDP/HTTP from the Internet, open the matching port — see Security Group management.
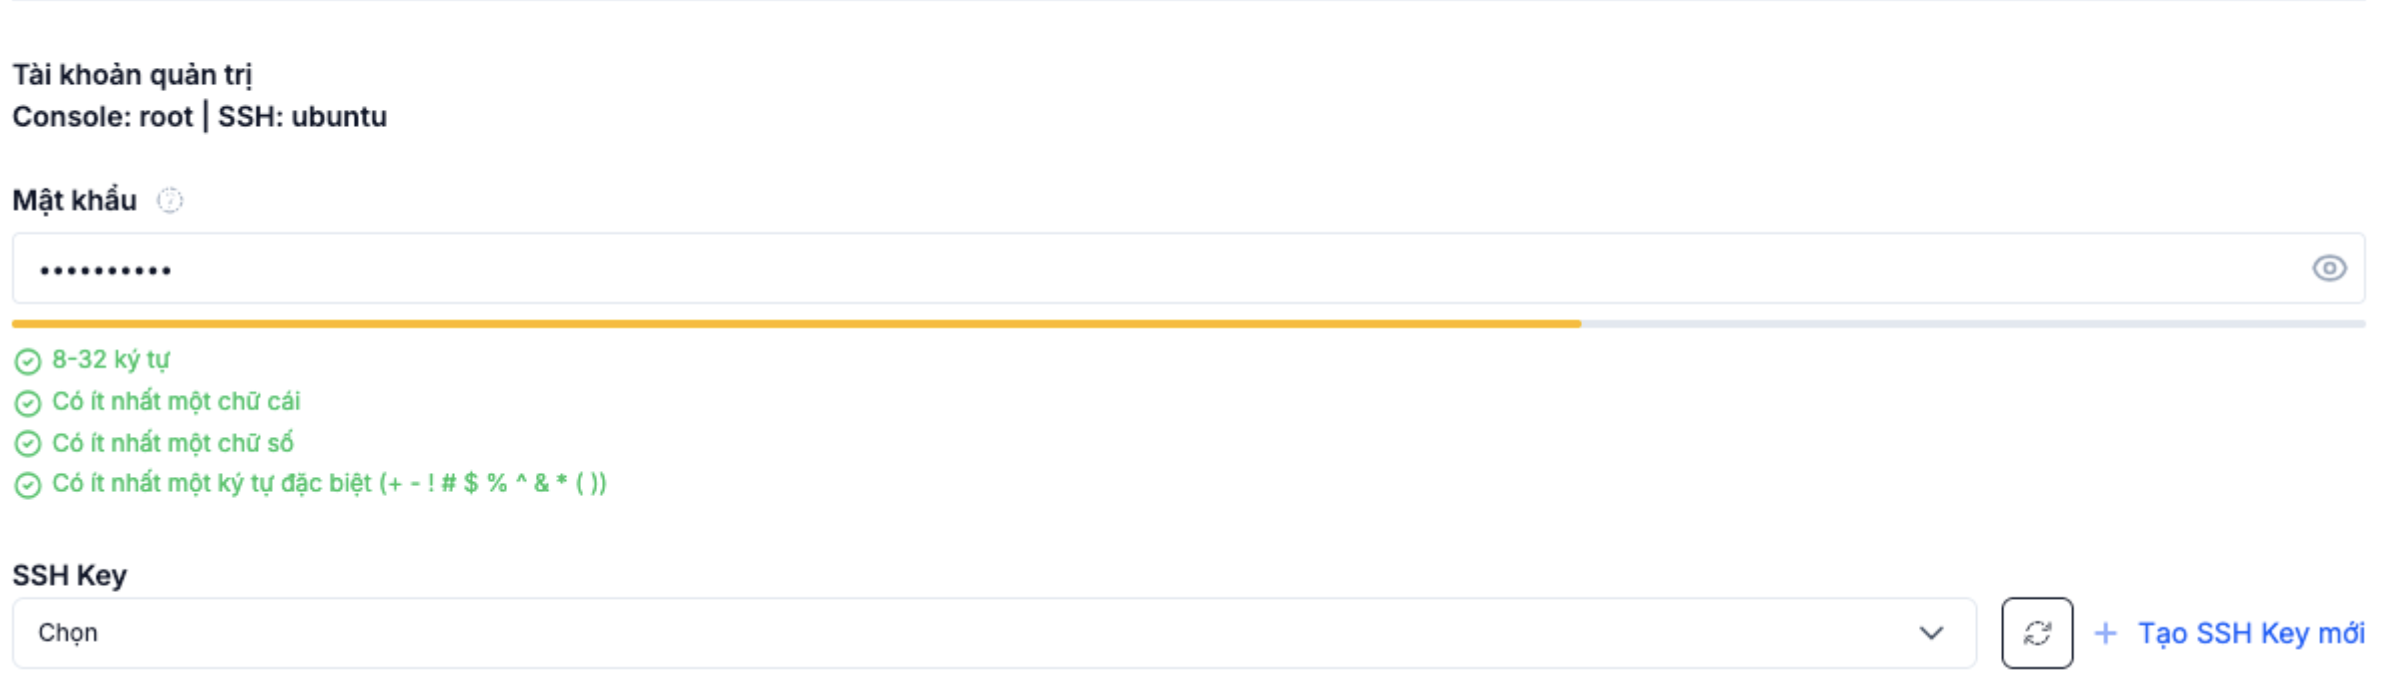
Step 6. Authentication method
Pick how you'll sign in to the VM once it's up:
- Password — set the admin/root password here.
- SSH Key — pick a key uploaded in SSH Key. Recommended for production.
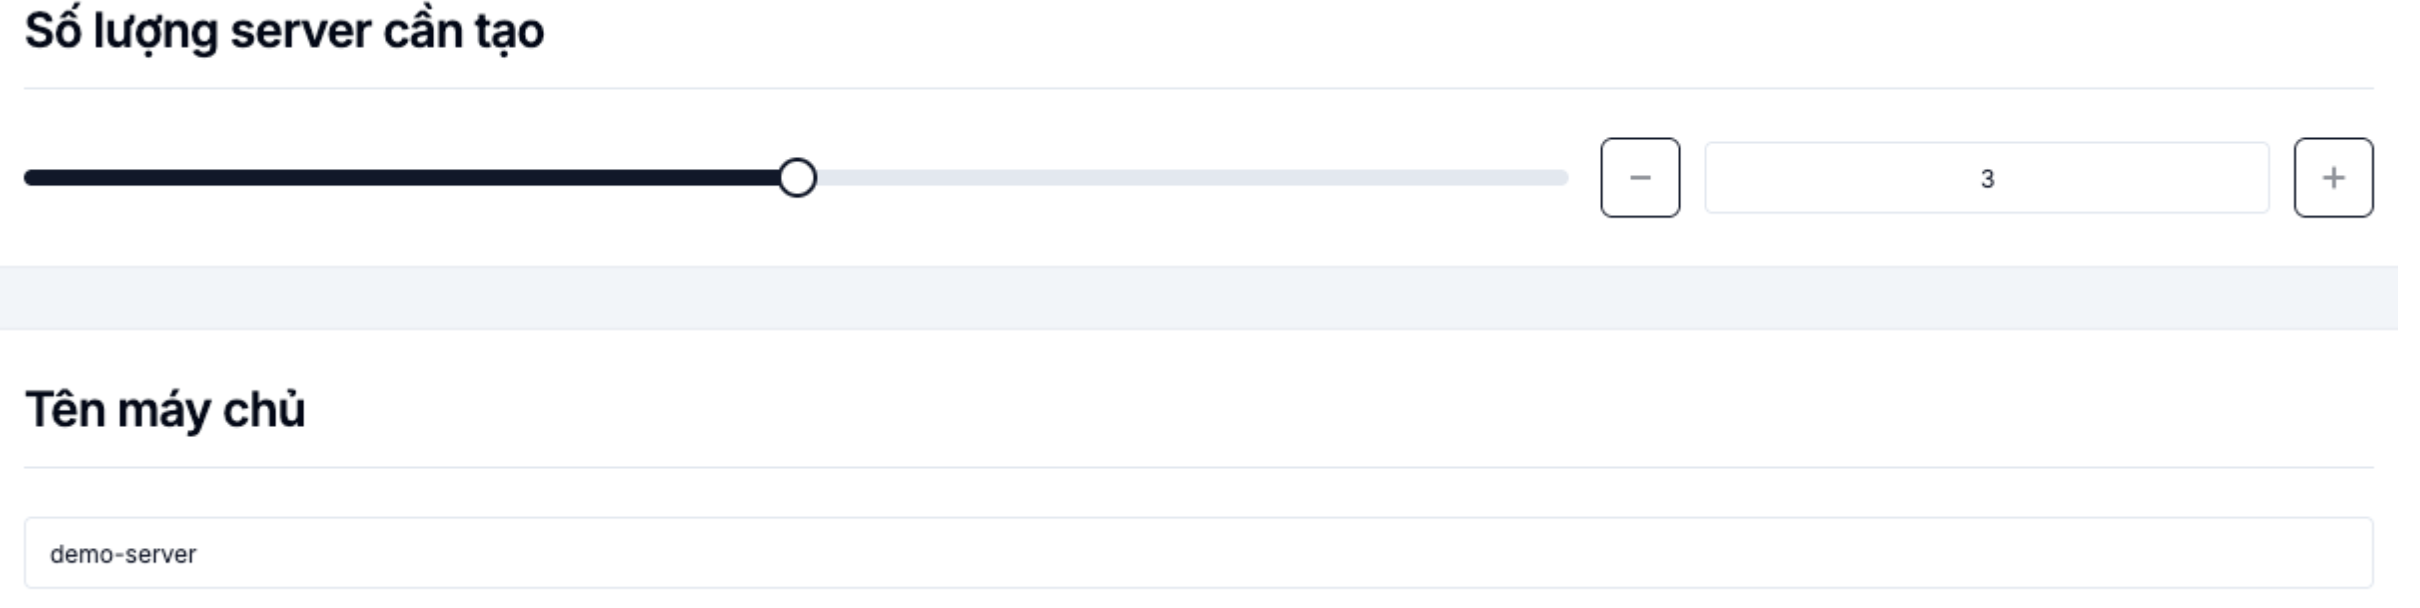
Step 7. Confirm and create
Enter the VM name, review the configuration and cost, then click Create.
Once the VM is Active in the Servers list, click its name to open the detail page:
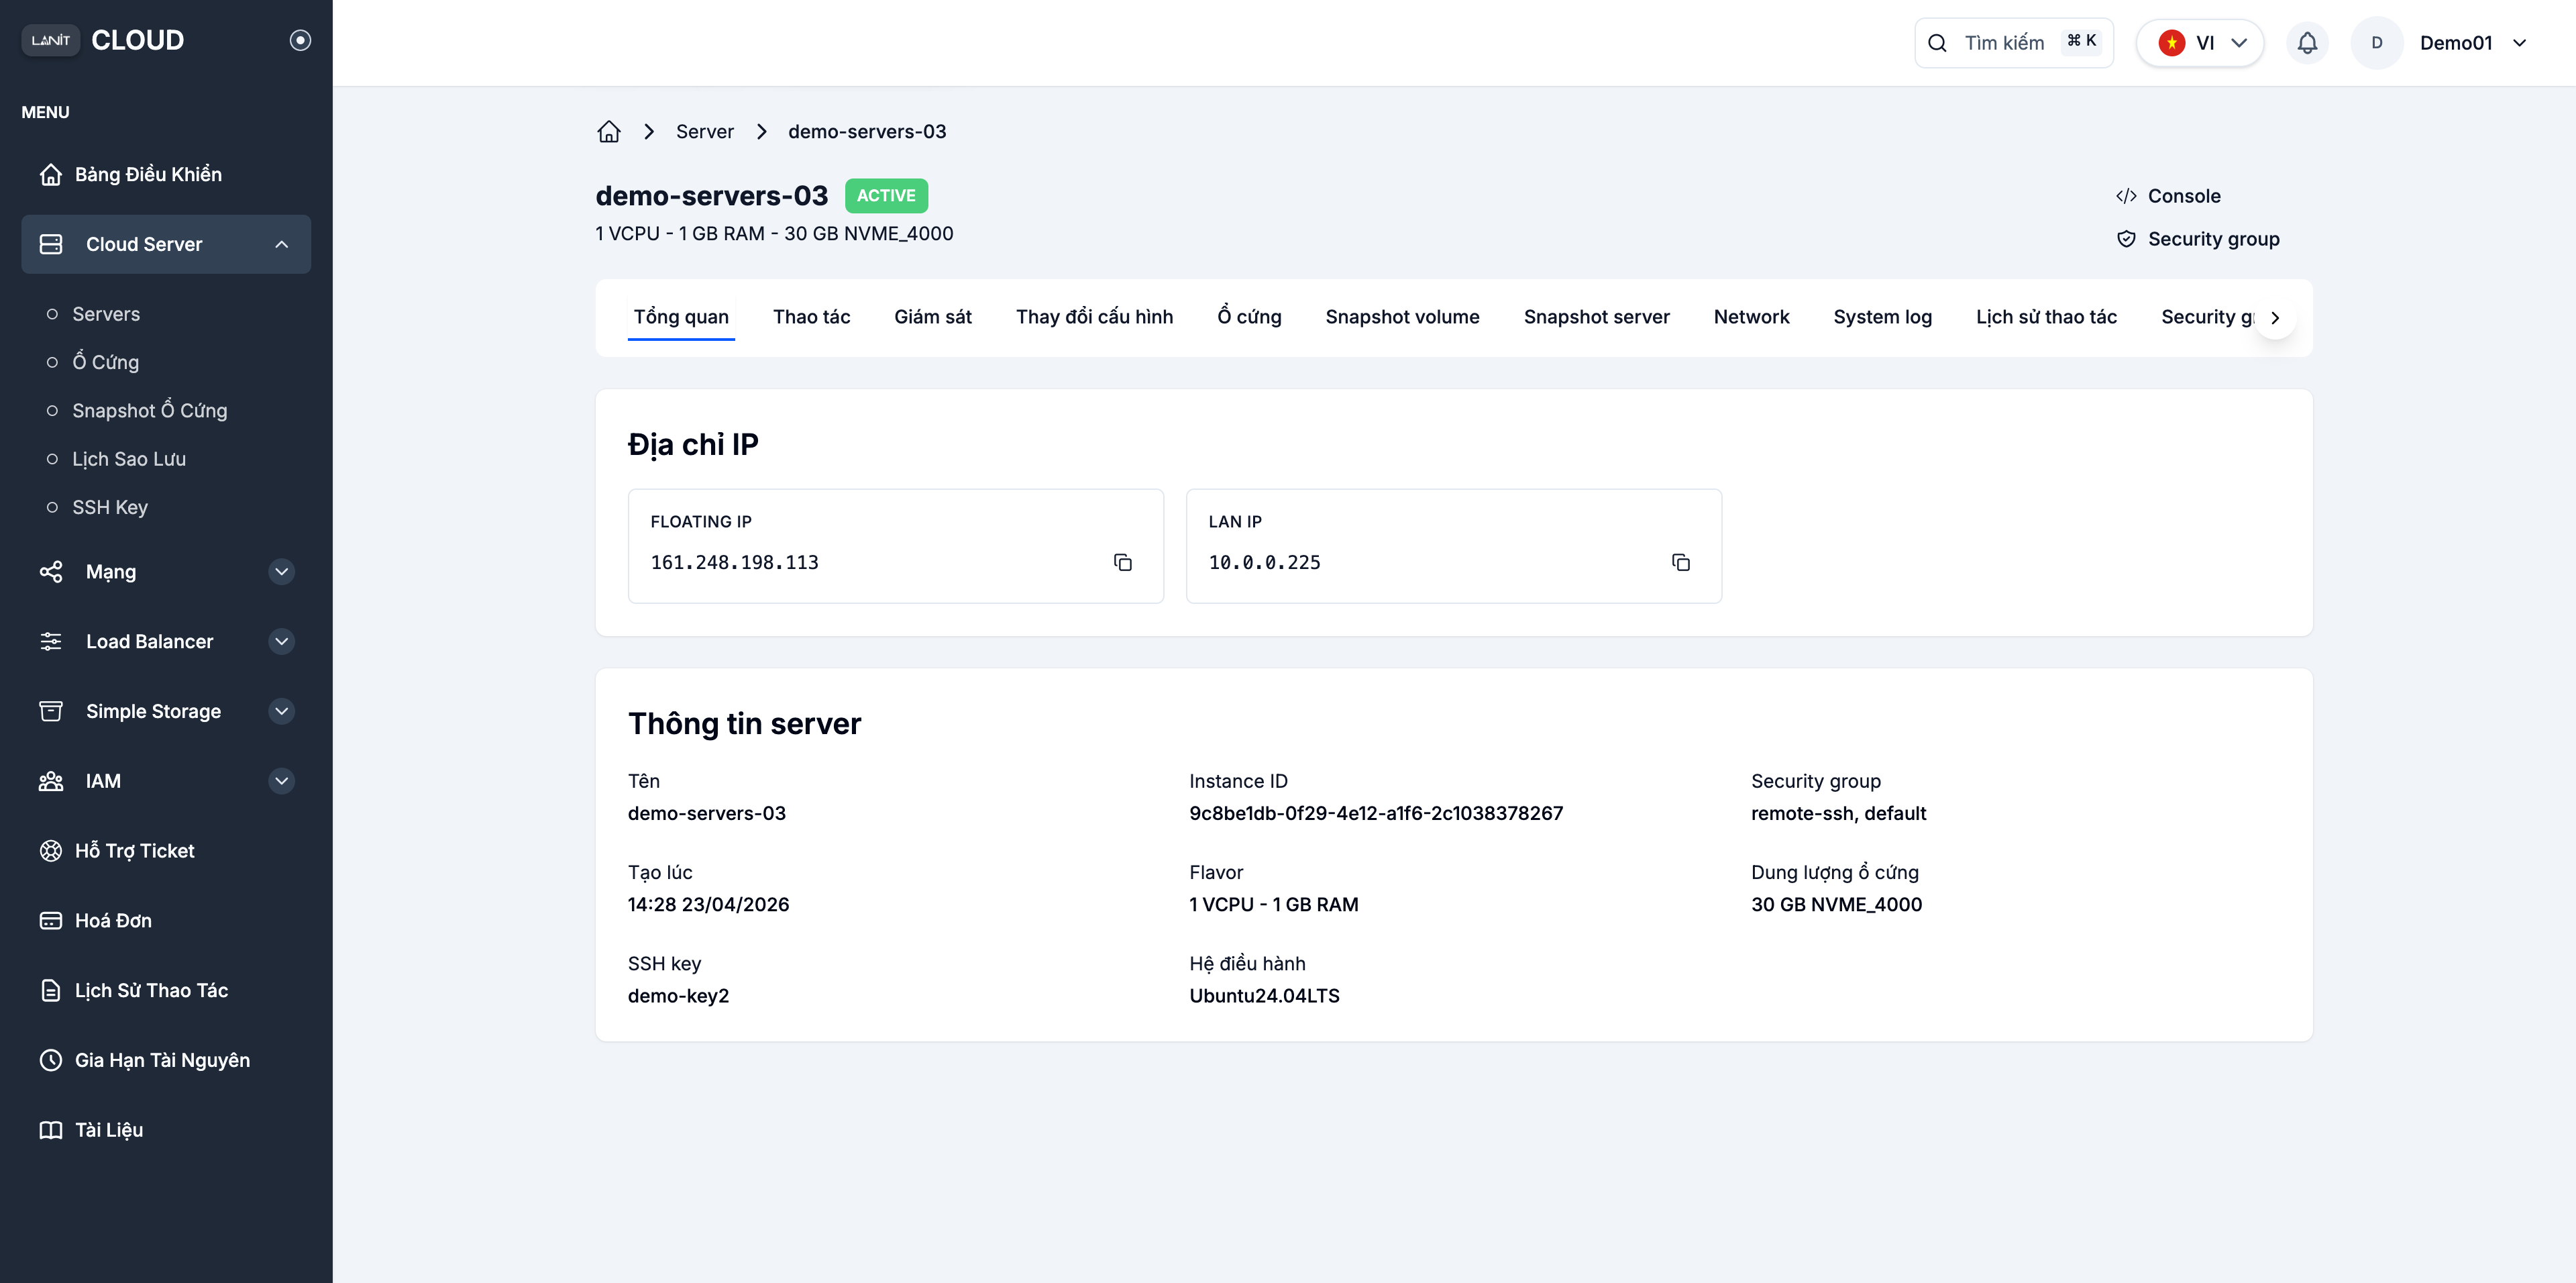
From here you can access the VM, check the System log, attach a Network Interface or take a Snapshot.
Next steps
- Access the VM via SSH / RDP
- Attach a Floating IP for Internet access
- VM operations — start, stop, restart, delete.
- Take a Snapshot — back up the VM state.